Editing Child Data
As part of the Multi-edit fu nction, the Instant JChem 15.7.27 version offers for the first time the ability to add data into a multi-entity based on many-to-one and one-to-one relationships in a more convenient way. In the root entity data tree grid view, you can add data to a child entity, the function recognizes the underlying multi-entity system and the foreign keys necessary for the relationships higher in the hierarchy are created automatically. Similarly, you can edit the child data and the necessary content is updated as well in connected entities.
There is a technical limitation only to one-to-one and many-to-one relationships.
At least one of the fields from the relationship has to be an ID field as it is the only auto-generated value used in Instant JChem.
The functions are most easily demonstrated in a grid view of a multi-entity environment bound in a many-to-one and one-to-one relationship.
Description of Sample Data
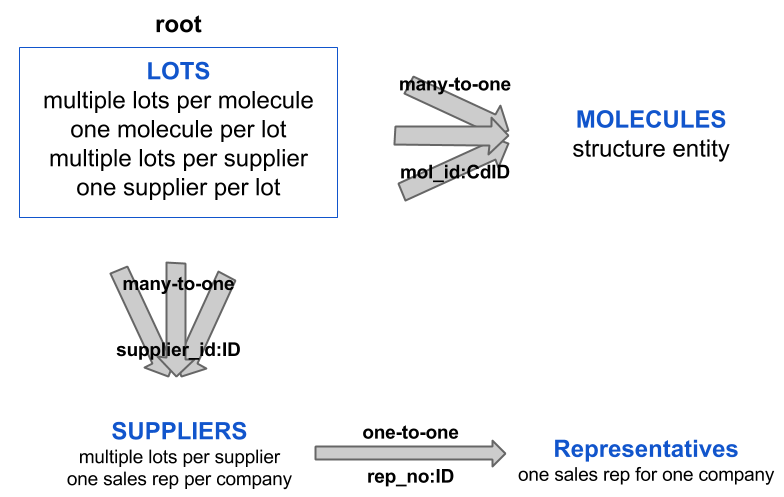
For the purpose of demonstrating the features abilities the following multi-entity environment was used. The LOTS entity is linked to the MOLECULES and SUPPLIERS entities using many-to-many relationships, presuming there are more lots for each compound available and each supplier provides many different lots. Additionally, the Representatives entity is linked through a one-to-one relationship to the SUPPLIERS entity, as the company might be represented by one person.
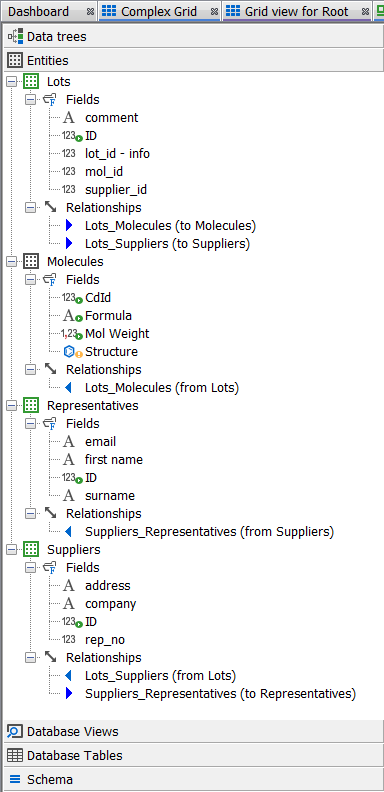
In a schema editor, such an environment might look like the following screenshot:
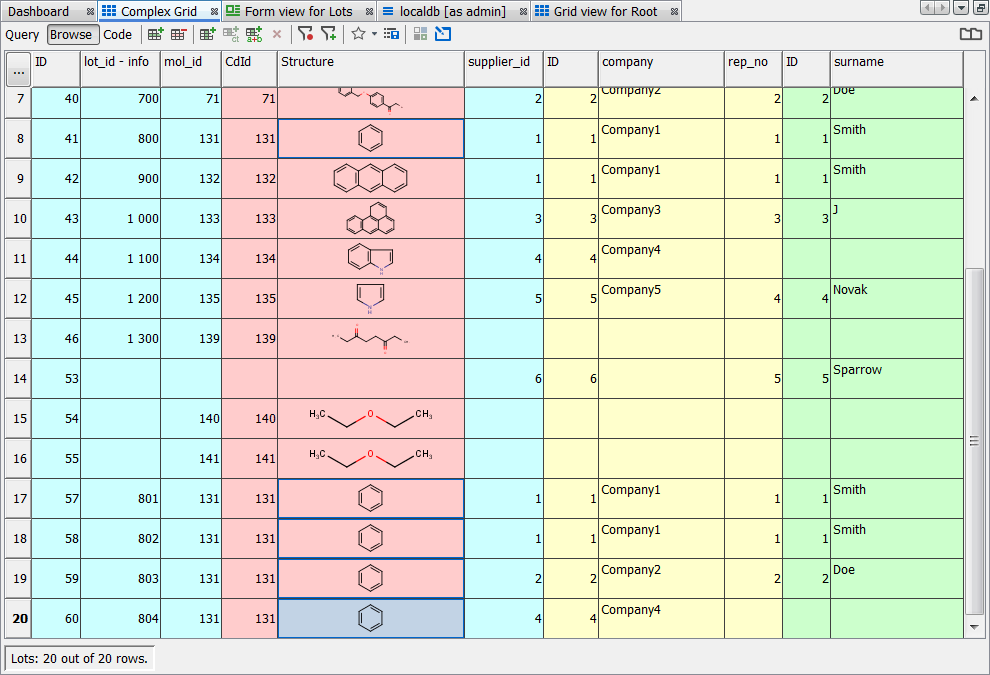
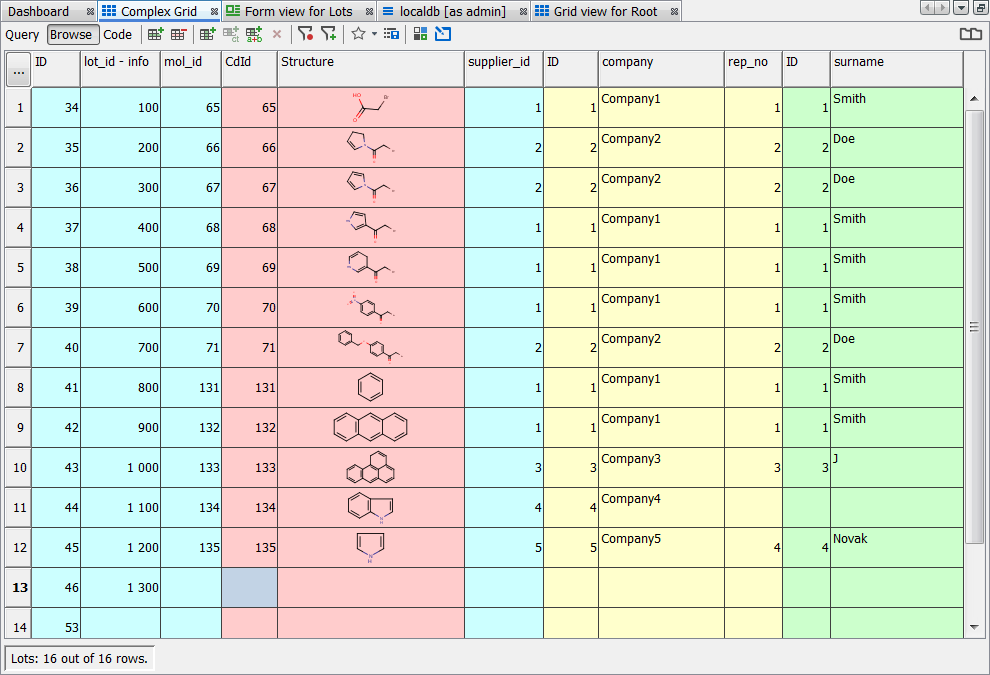
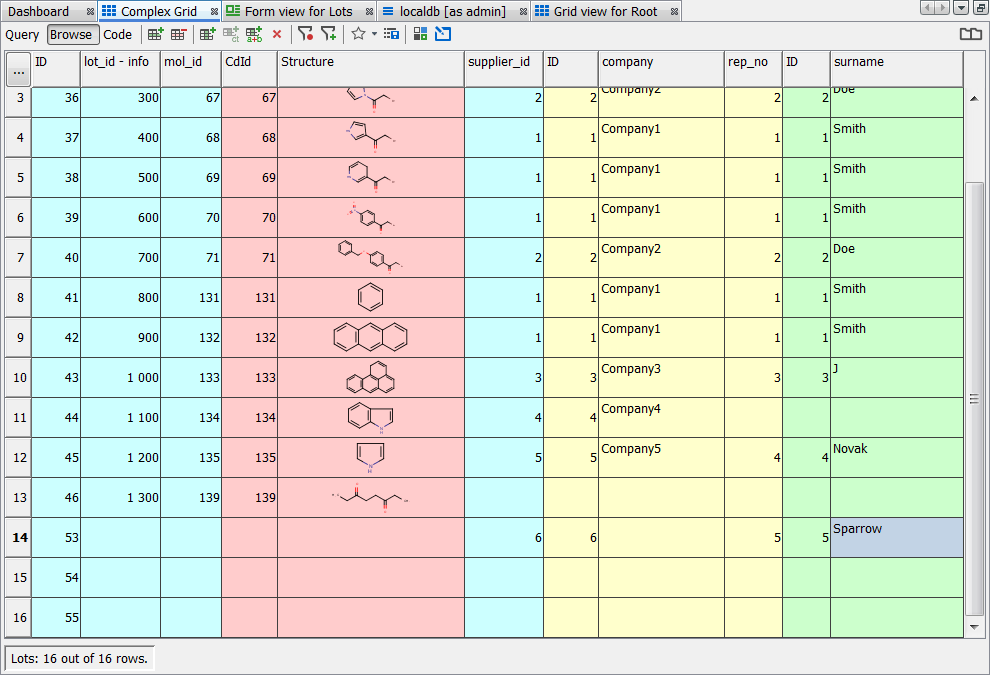
In a grid view of a data tree based on root entity with all child entities, it might look like this. The different background colours are meant to highlight the “original entity” of each field. Fields contained in the Lots parent entity are highlighted in blue, Molecules in red, Supplier in yellow and Representatives in green.The fields forming the foreign keys are shown next to each other to demonstrate the link being created. They are the only fields that cannot be edited.
Adding a new row into the root
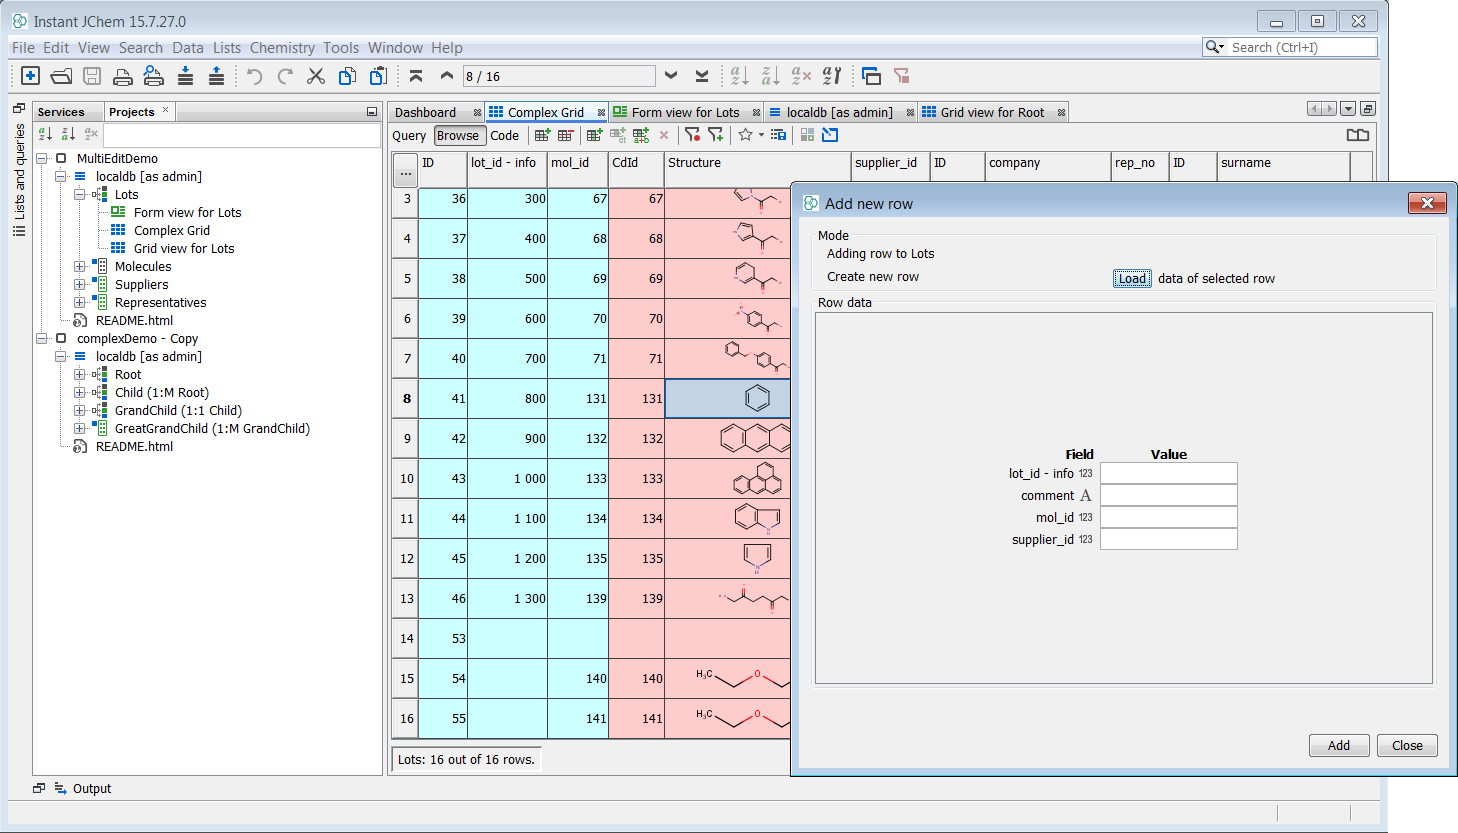
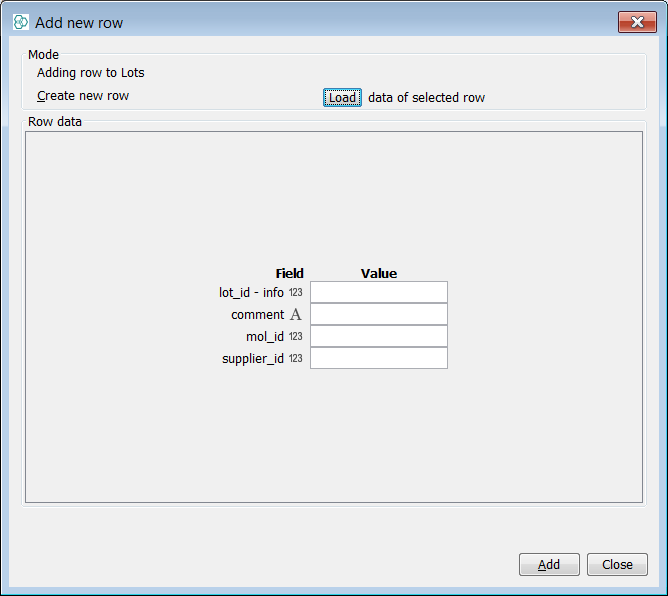
You can add a new row into the grid view using the … button menu and the New row option (shortcut Ctrl+K) or icon in the window toolbar. In the Add new row window, you can load data from an existing row by selecting the row of interest and using the Load button. Then, you can modify the data in the row according to your needs. You can also add empty new rows and use them to insert new child data.
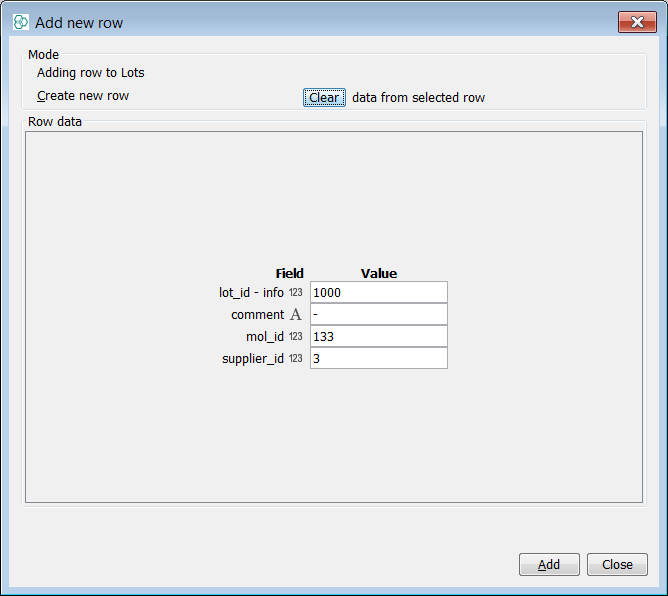
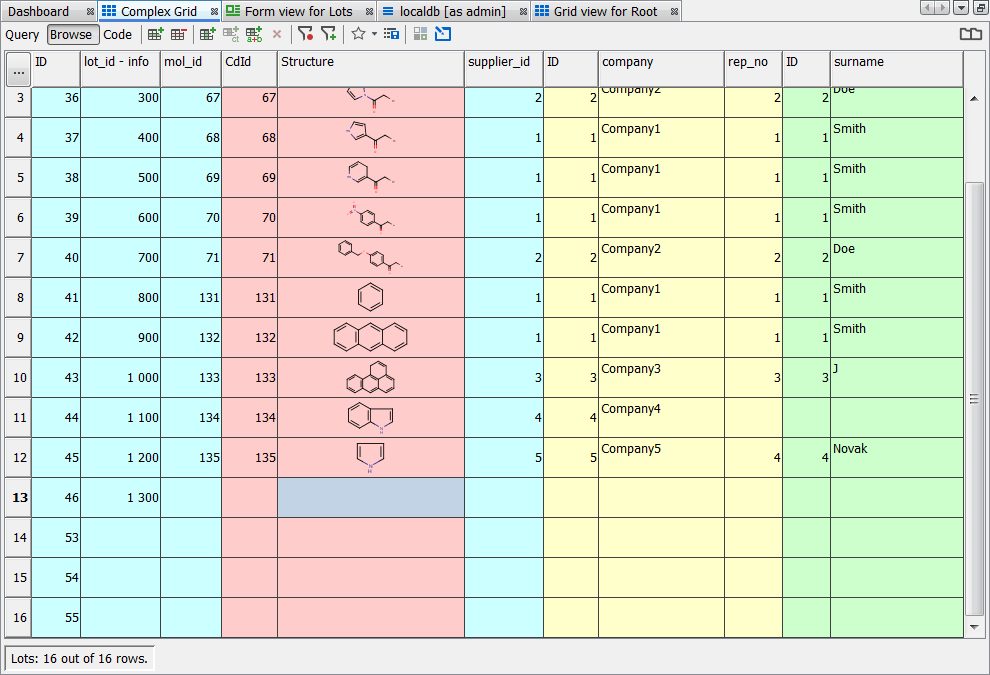
Adding new child data into empty row
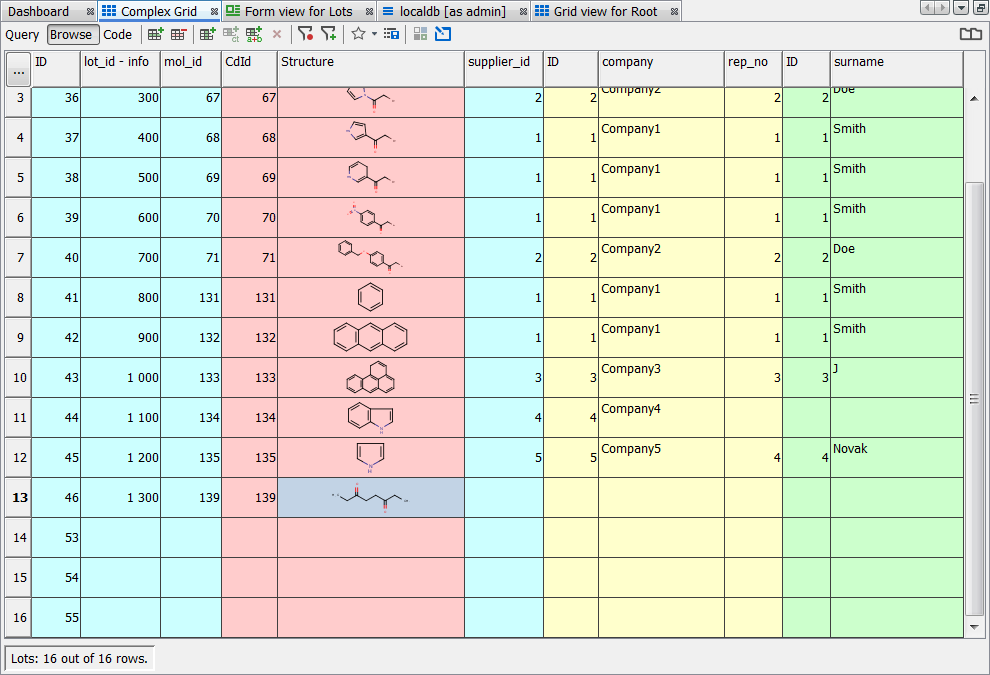
New data can be inserted in any field not used in the foreign key definitions. In the first example, a new structure is added for the lot number 1300. It is possible to use doubleclick, right menu Edit option or F2 shortcut on the selected cell. A Marvin sketcher window opens and we can save a new structure. You can notice the CdId and mol_id cells in the row are automatically filled in.
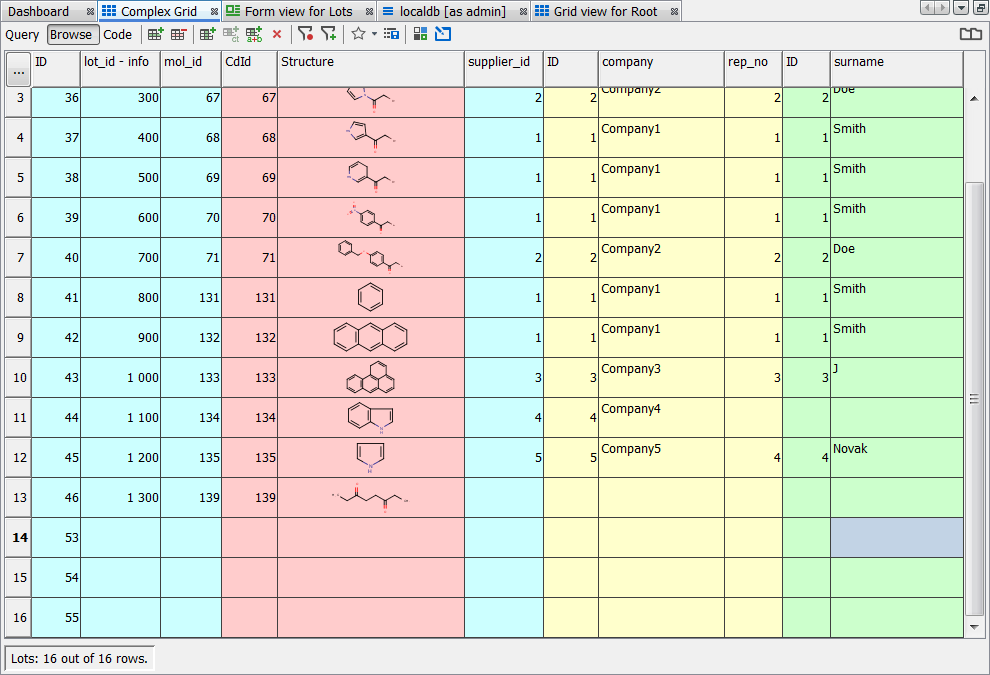
In the second example, the name of a new sales representative is added in the table in a way similar to the previous example. Here you can notice that two ID fields have been filled in, as the Representatives entity is connected to the root Lots entity through the Suppliers entity, so there were two connections that had to be established. You can also insert the remaining data at a later point in time, so the information in the table will be complete.
You should not use the multi-edit function to insert one piece of data into multiple child cells. Doing this will result in creation of the same piece of data with multiple IDs. This might lead to confusion in the future! Instead of this, you can use the option of ‘load data’ from an existing row as described below.

Adding rows with existing data
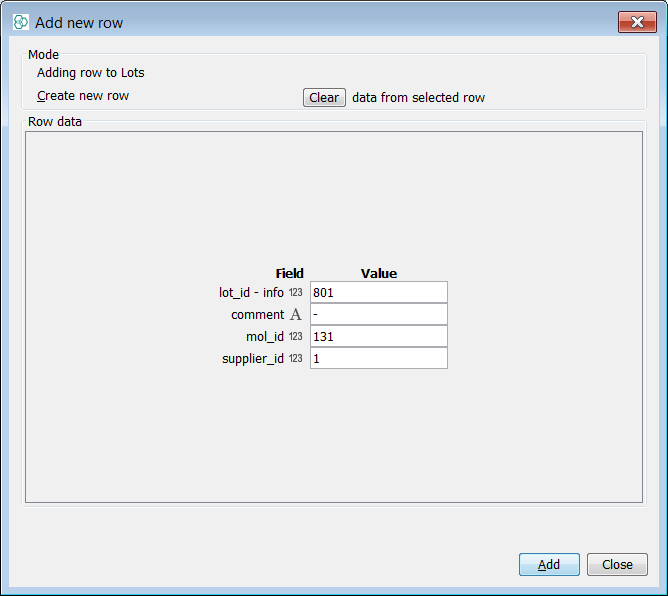
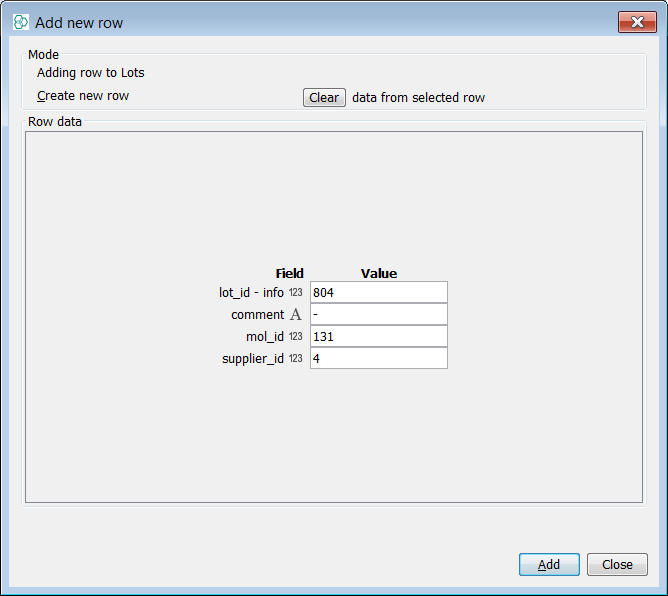
You can follow the instructions on how to add a new row into the root described previously. In the example below, four new benzene lots were added, two of them supplied by Company1 and the remaining two by Company2 and Company4 . In the ‘Add new row’ window, the ‘load data’ button was used to select the data from the row containing benzene. Then, the lot numbers were changed for each row inserted and the supplier_id was changed for third and fourth row to 2 and 4, respectively. You can notice that four rows with the same CdID have been added, two of them containing also the same supplier_id.
