IJC tutorial: SD file import, basic visualization and overlap analysis
Overview
This tutorial will introduce you to the basic operations in Instant JChem. It will guide you through the process of file import, calculating chemical properties by using chemical terms field, visualization the distribution of properties. It will also give a step by step guidance to the identifying common structures between the different files by overlap analysis.
Contents:
Importing a SD file
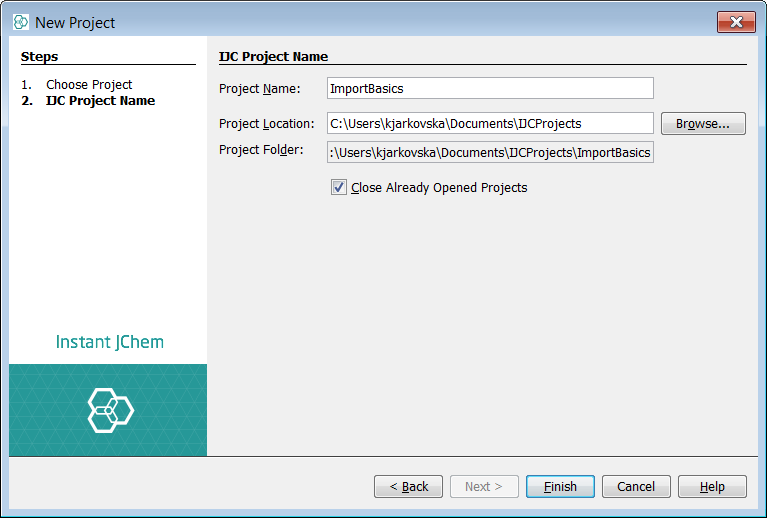
Let's start with the import of a single SD file. Before the actual import, new project must be created. Use File -> New Project... menu entry or appropriate icon in the toolbar(shortcut - Ctrl+Shift+N). Create a new project and choose IJC Project (with local database).

We will be using MDL SD file substances1.sdf packed in this zip file: substances1.zip.
Second file substances2.sdf will be used later for overlap analysis: substances2.zip.
File import to the fresh local database project
-
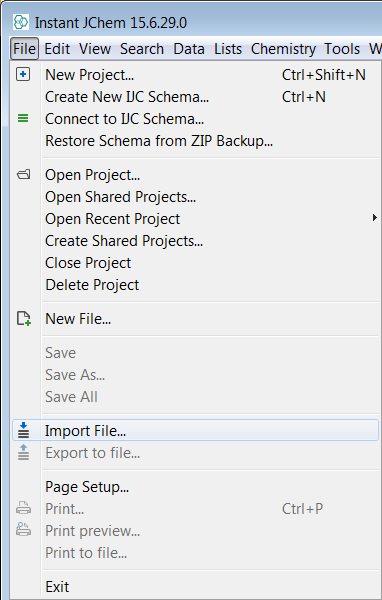
Importing file can be achieved through the File -> Import File... menu. Other option is to use right click on the schema in Projects window and choose Import File...
-
Choose the file to import.
-
Import file dialog pops up and proceed with theNext button.

-
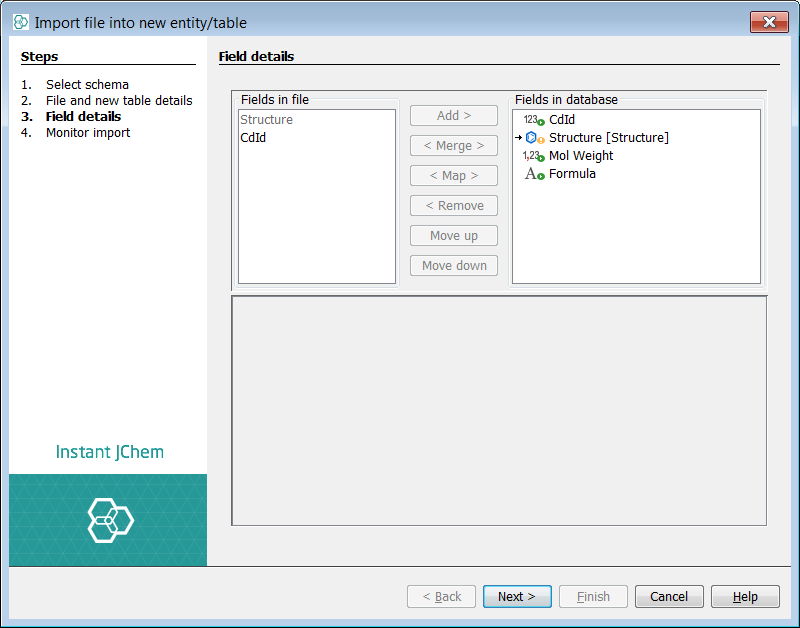
This leads to the Field details tab where one can choose which fields in the file should be imported. Default setting should be OK.
-
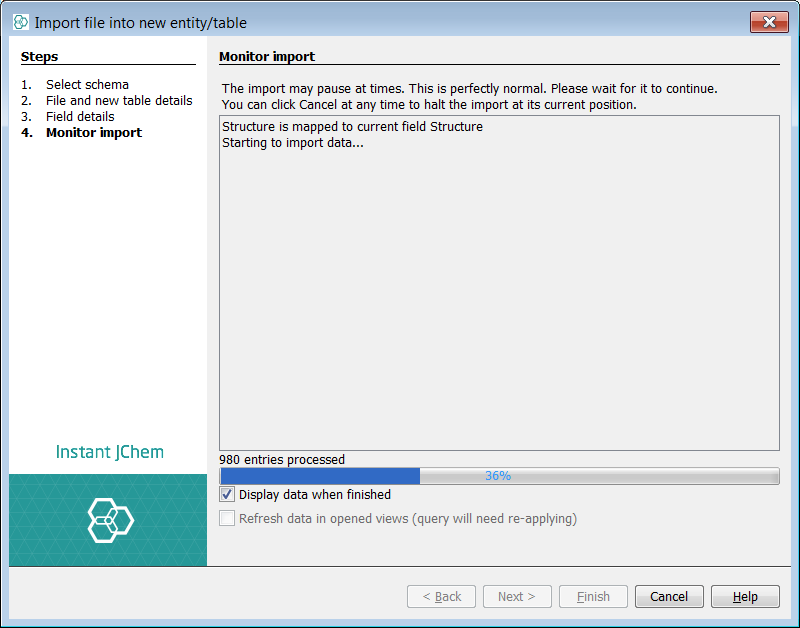
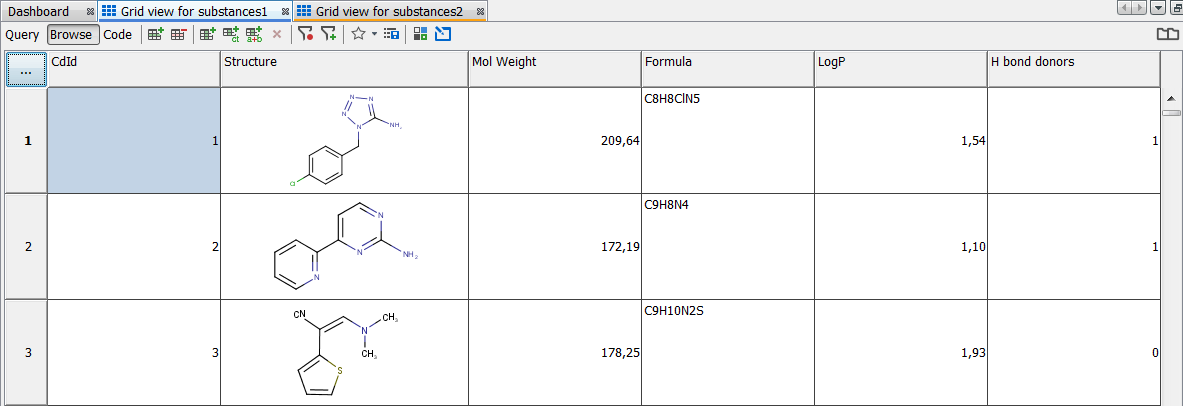
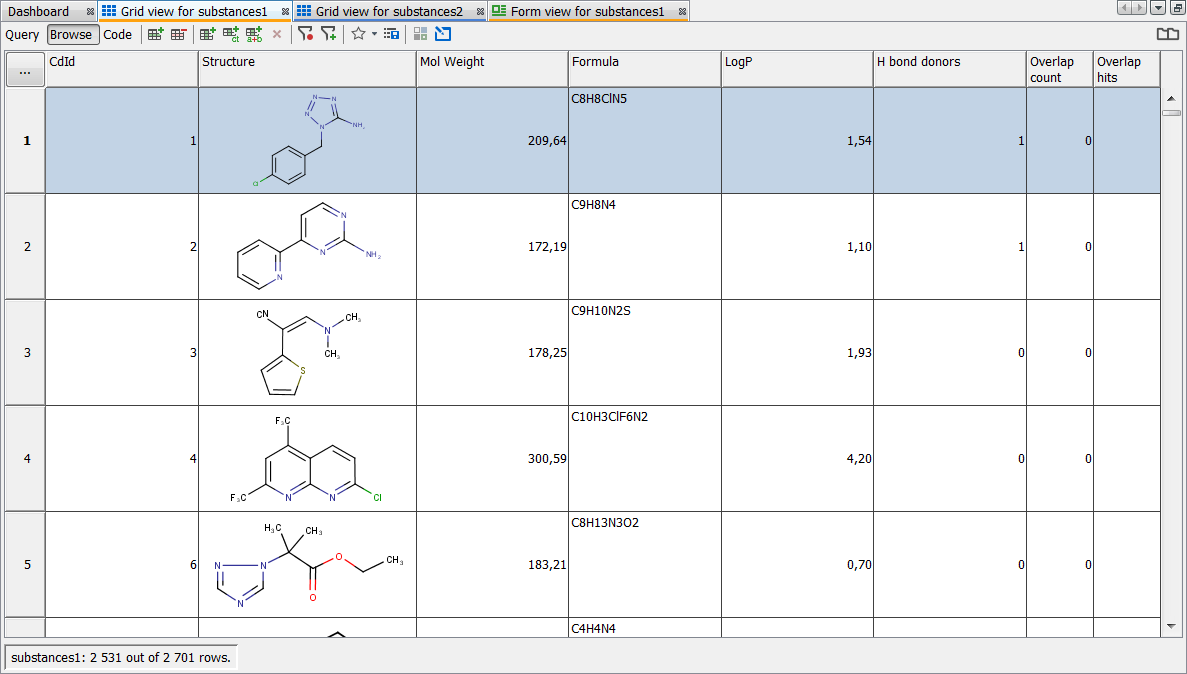
After the importing process has finished, the default grid view containing the molecules and the corresponding fields is shown.
Calculating properties
Chemical Terms Field allows to directly compute a chemical property from the chemical structure.
-
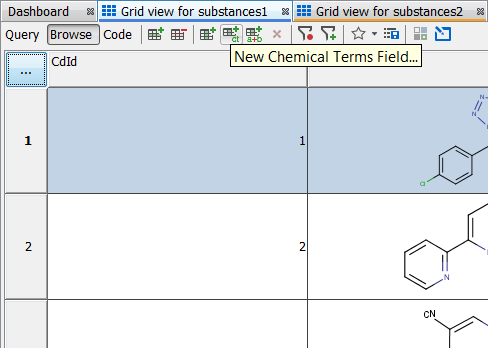
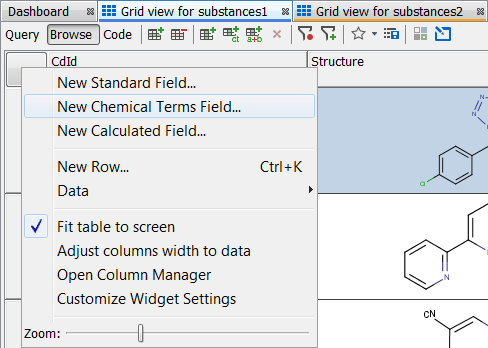
New Chemical Terms (CT) Field can be created using toolbar button or by choosing New Chemical Terms Field... from the ... button menu
-
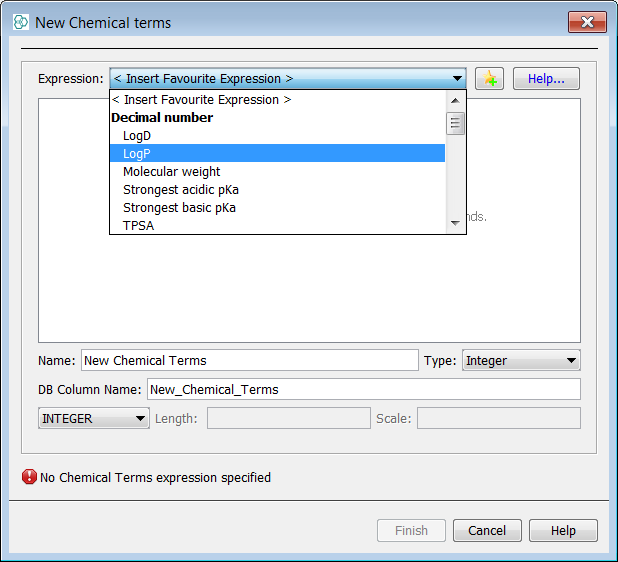
New Chemical Terms Field Window allows to write an expression in Chemical Terms Language. For now we choose logP in the predefined favorites expressions and add them by clicking Finish.
-
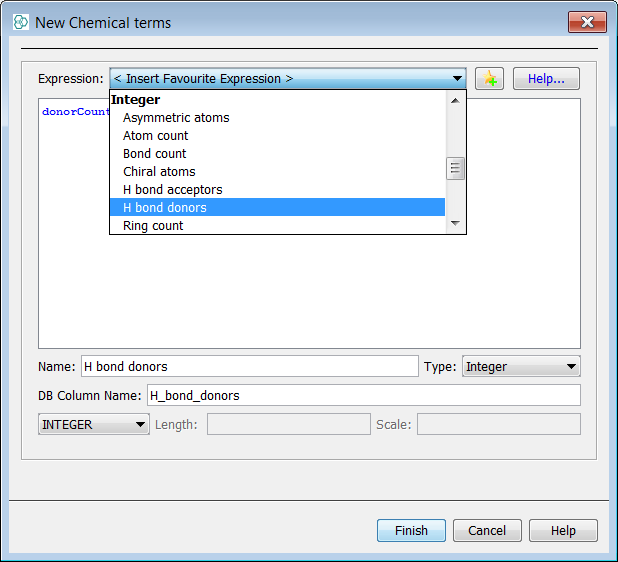
Add the new CT field for H bond donors.
-
Following screenshot shows fields in database. We use them for visualization in the next section. Molecular Weight and Formula are created automatically by default, when importing file.
Visualizing properties
Using the calculated property fields this section will show how this data can be viewed in Instant JChem using the Chart Widgets.
Creating a form view
-
In the Project Window right-click on the data tree containing the products and select "New View"
-
Set the View type to "Empty Form View" in the dialogue and click Finish
-
Go to Design mode by clicking on the Design button in the upper left corner of the Form View
-
Add a table to the form through the corresponding button in the top toolbar, or through the r-click drop-down menu (Right-click on the form and select Table)
-
Choose the fields visible in the table. It means binding table to fields.
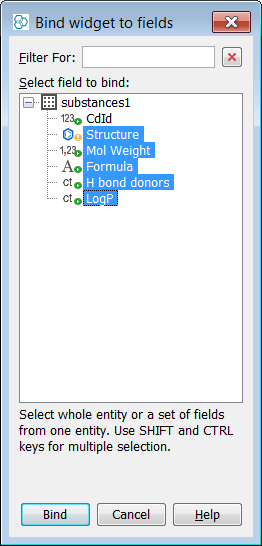
-
Click Bind; resize and reposition the table according to your needs
-
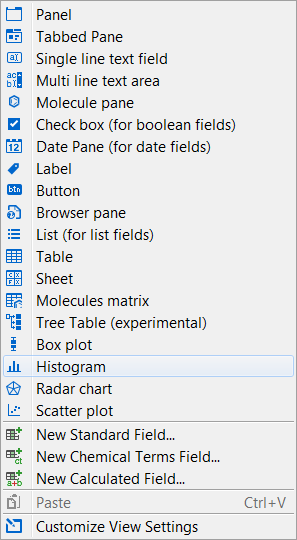
Right-click on the form and select Histogram from the menu
-
Select LogP as the Value to Bin and H bond donors as Category field
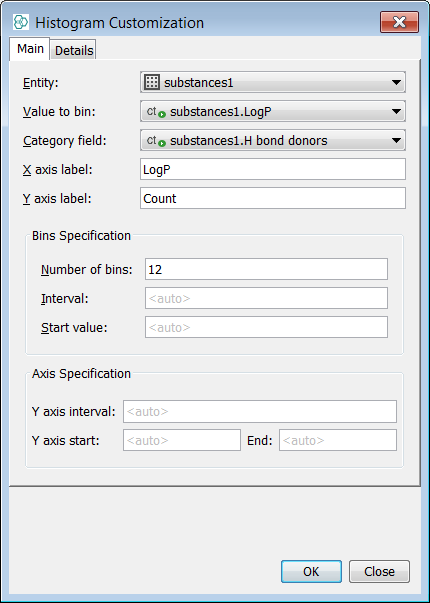
-
Click OK; resize and reposition the chart widget
-
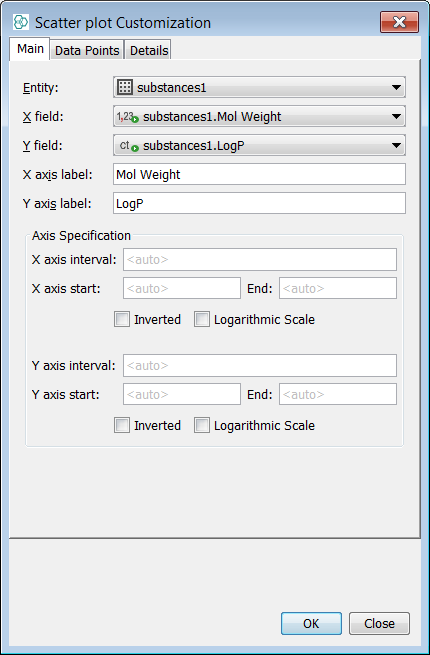
Analogically add a Scatter plot; X axis - Mol Weight; Y axis - LogP
-
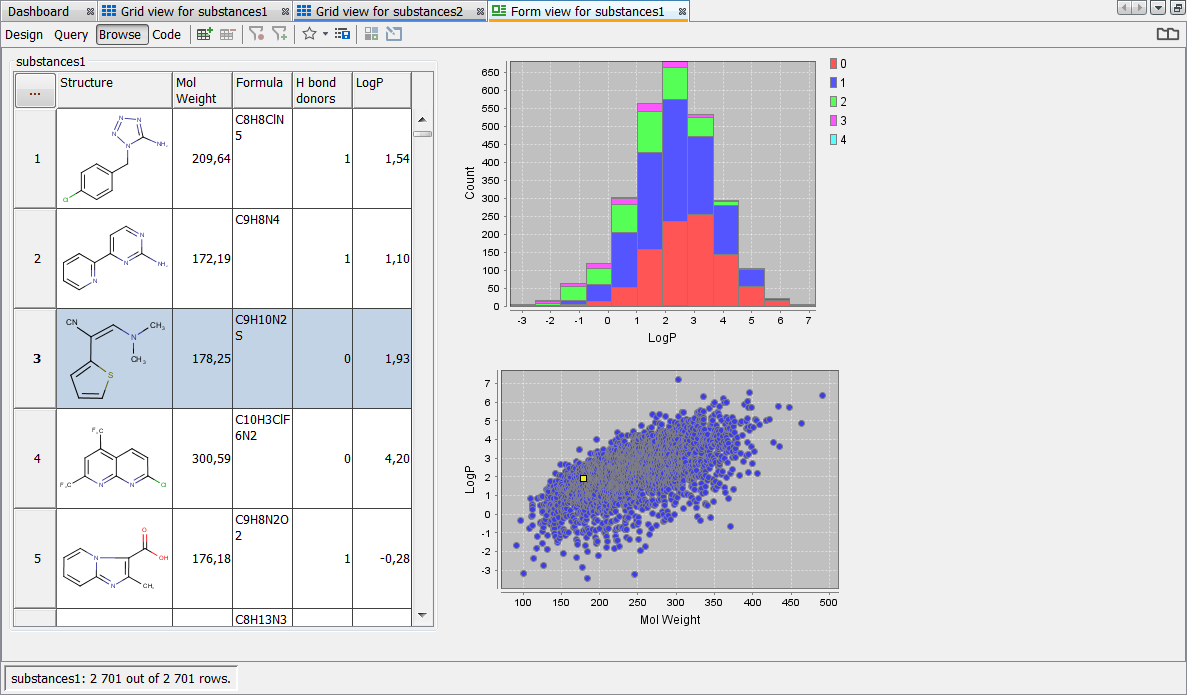
Click on Browse in the top left corner of the view to see the result of the above steps
Overlap analysis
This is a very useful approach when two different molecule datasets needs to be compared. Here is the second molecule dataset available for download as a sample file.
Performing overlap analysis
-
Import the file to the new entity named substances2
-
Go to Chemistry -> Overlap analysis

-
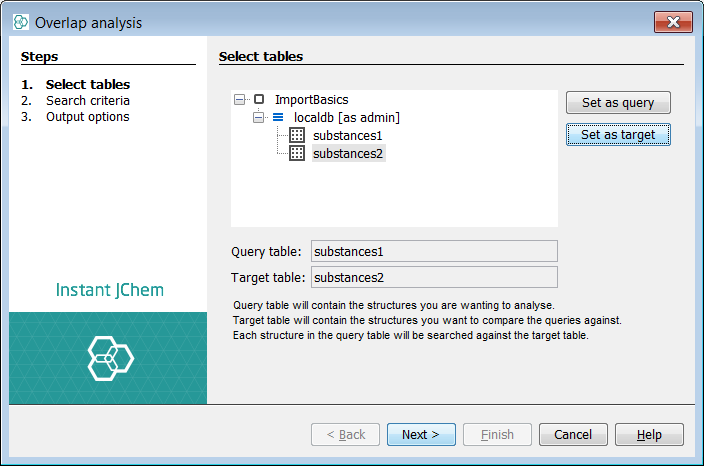
Set the substances1 table as the Query table and substance2 as the Target table
-
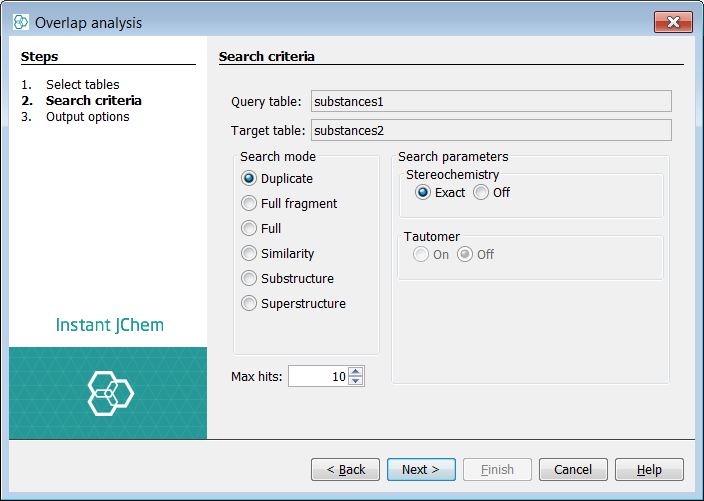
Click next and select Duplicate search mode
-
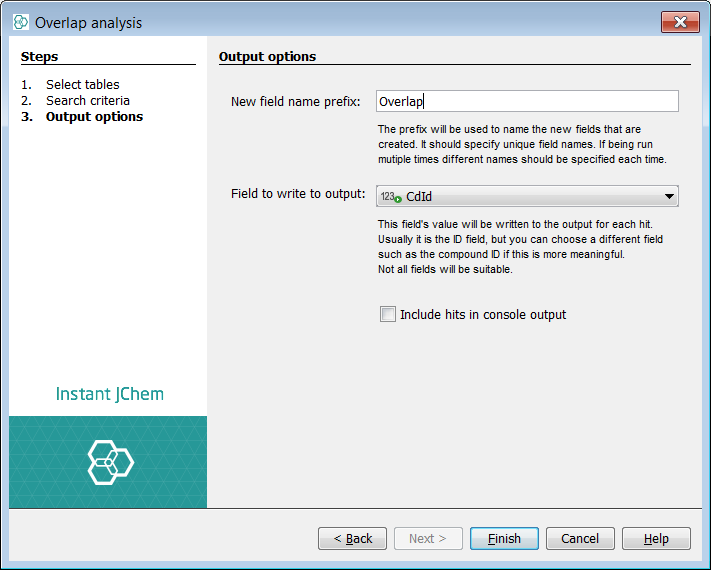
Click Next and after giving a name to the new overlap field click Finish
Exporting query structures not presented in the Target table
-
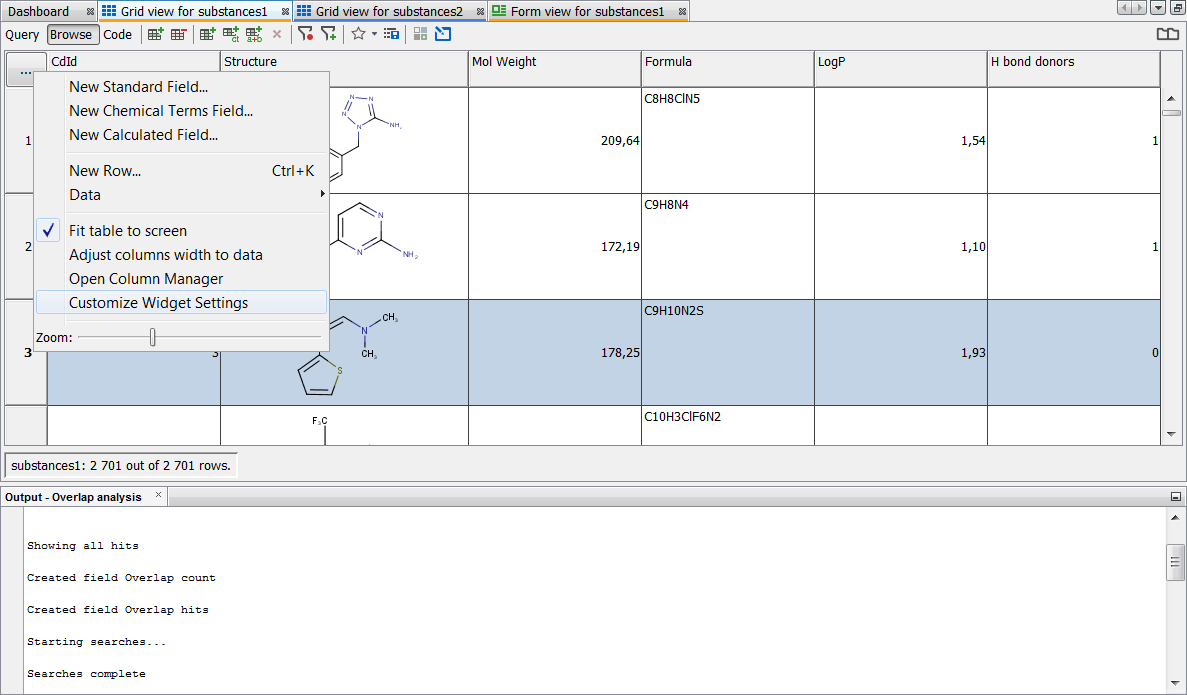
Go to Grid view for substances1
-
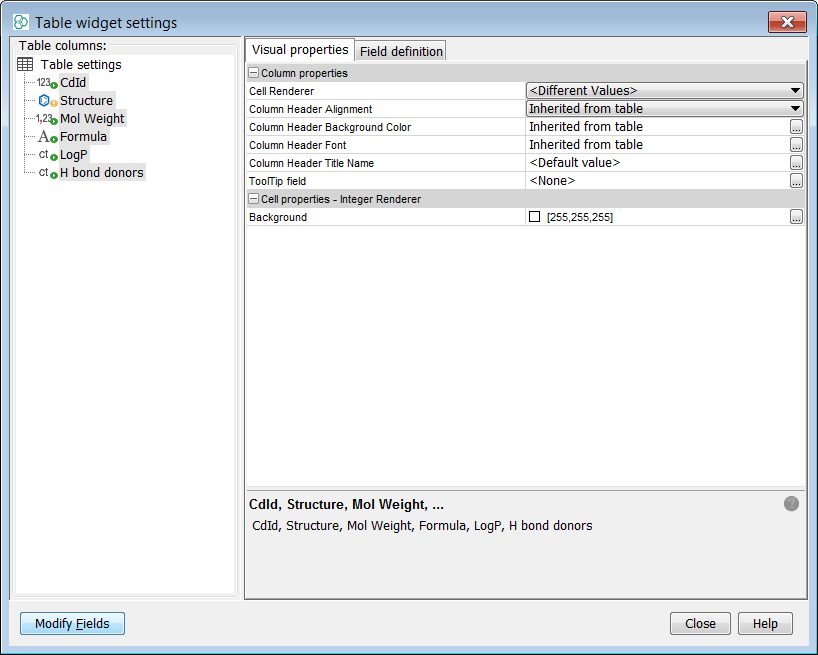
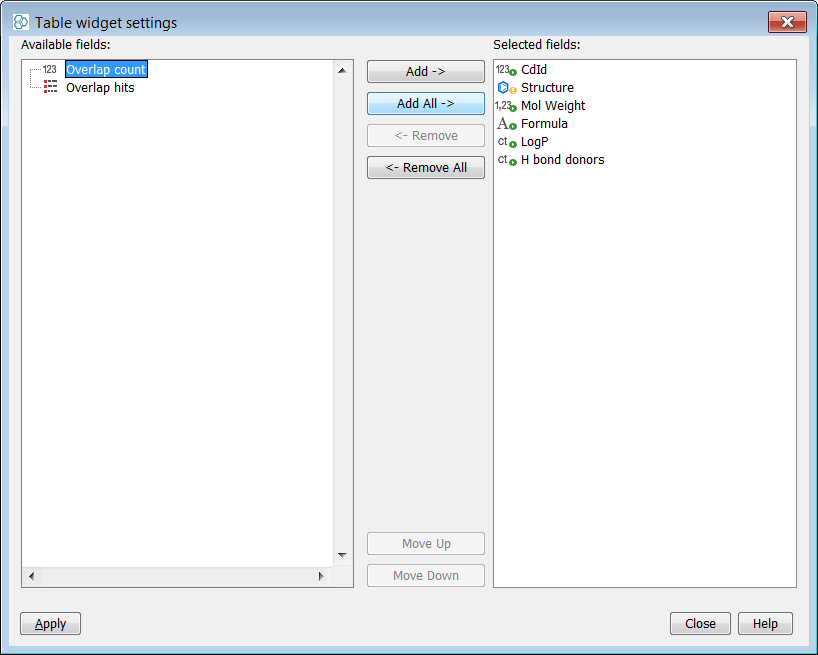
Now you need to include your Overlap analysis results in the gridview. You can do this by selecting Customize Widget Settings in the ... button menu. Then press the Modify Fields button and add both result fields to the table.
-
Click to Query mode in the top left corner and set Overlap count = 0

-
Run query; unique structures are shown in the Browse mode
-
You can export the unique structures by using menu entry File -> Export to file...
Congratulations!
Congratulations! You have just compared content of two structure files and exported unique structure in the first file. In this tutorial you have learned:
-
How to create a new project
-
How to import a file
-
How to estimate chemical properties from chemical structure by using Chemical terms field
-
How to visualize chemical properties
-
How to run overlap analysis