Browse mode
Introduction
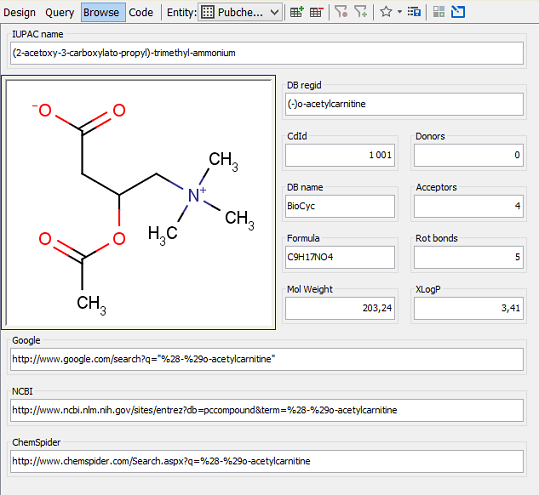
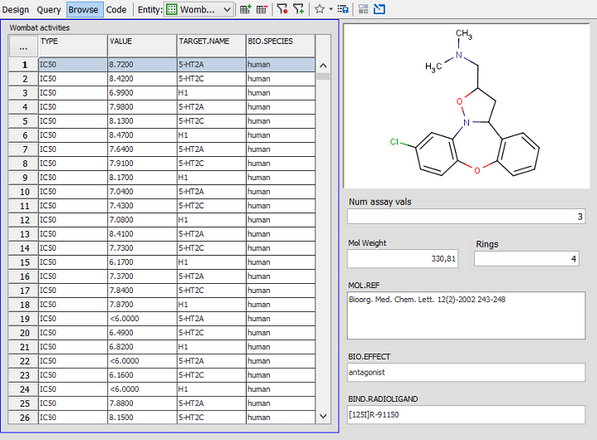
Browse mode is where the form is 'live', allowing you to view and edit data. Before you can do this you need to create the form in Design mode. When you switch to Browse mode the currently selected record (or the first record if there is no selection) will be displayed.
Editing data
Data in the form can be edited, assuming you have access rights to edit data and the particular field is editable. To edit data double click on the widget and it will either switch to edit mode, allowing you to edit the value in place (e.g. for TextField and TextArea Widgets), or with a popup editor (e.g. for MolPane widgets). A field that is being edited is indicated by by its title changing to red or some other visual symbol. To edit a cell in a table double click on the cell. With in-place editing type in the new value and hit the Return key to commit the change. Hitting the ESC key will cancel the editing and restore the old value.
Note: to edit a TextField or TextArea Widget you need to double click in the actual area that displays the data. If you double click in the surrounding border area you open the settings editor for the Widget, allowing you to edit the display settings.
Adding and deleting records
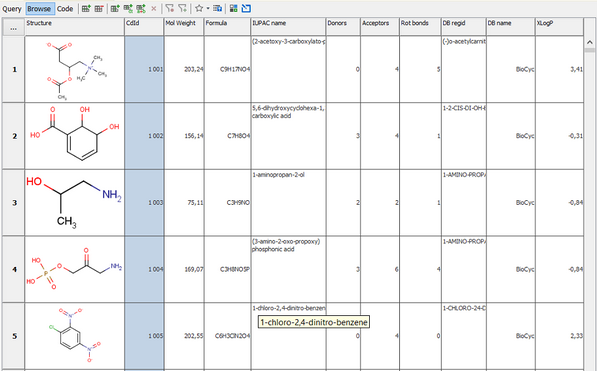
Adding and deleting rows is done in a very similar manner to the Grid View. There are actions in the Form toolbar for adding and deleting rows which operate in a very similar manner to the Grid View.

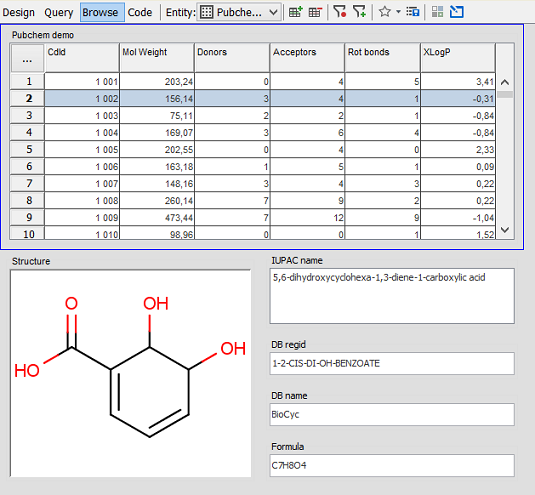
The only complication is when it comes to adding and deleting from relational data. Are you wanting to add/delete a row from the master data or the detail data? Both are usually possible, and what you are adding/deleting to/from is determined by the current selection. If you have a detail widget (e.g a table) on the form and it is selected (as indicated by its blue border) then the add/delete actions will act on that vertex (and hence its Entity) to which that Widget is bound. This is further emphasised by the ComboBox in the toolbar that lists the Entities that are present in the Data Tree. ComboBox should display the Entity for the currently selected Widget, and the selection can be changed by using the Combo Box.
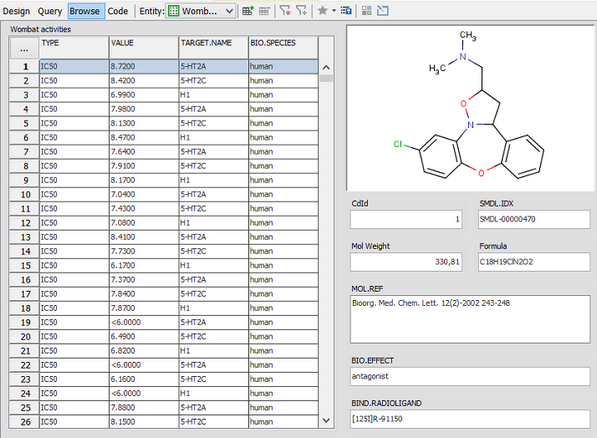
With relational data not all additions/deletions are possible, depending on the nature of the relationships between the Entities. Most important is the 'ON DELETE' property of the foreign key constraint. The setting of this parameter controls what happens to the dependent rows when you delete a row from the main table. If set to CASCADE then the dependent rows will also be deleted (and possibly any rows that are dependent on those), which is often what is wanted, but use this option with care! If the option is set to RESTRICT then deletion will not be permitted if there are any dependent rows present. More options may be possible. Consult the documentation for your particular database.
Also pay attention to editing values in relational data where the ordinality from master to detail is many-to-one. You will not only be editing the value for the current record, but also all the others (the many's) that reference that same record (the one). Make sure this is what you want before you do it.
Sorting and Querying
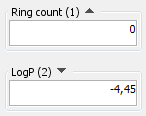
Sorting and querying operate in a similar manner to the Grid View. Sorting can apply to any level in the master-detail hierarchy, and each Entity in the Data Tree can have its own sort directives. Sort directives are indicated in the Table Widget by symbols in the column headers (just like Grid View), whilst for most other Widgets the symbols are displayed in the border for the Widget. The last used sort configuration is remembered per user. The image below shows a form that is sorted first by the Ring count Field in ascending order and then by the LogP Field in descending order.
Query operates identically to Grid View. In Standard Query mode only Fields from the root element of the Data Tree can be included in query criteria. To search using the detail Feilds you must use Advanced Query.
Editing settings
The options for modifying the design of the Form are much more limited in Browse mode compared to Design mode. You can only make changes to which Widgets are present on a Form or their locations in Design mode. But some things are possible in Browse mode:
-
Display settings of the Widgets can be changed. To open the settings editor for a widget either:
-
Double click on its border region
-
Select the Widget and click on the Widget Settings icon (
 ) in the Form toolbar
-
-
Table settings such as which columns are displayed can be edited using the settings dialog for the table.
-
Columns in a table can be re-sized and re-ordered.
-
Row height in a table can be adjusted.

