Conditional Formatting
Conditional Formatting Overview
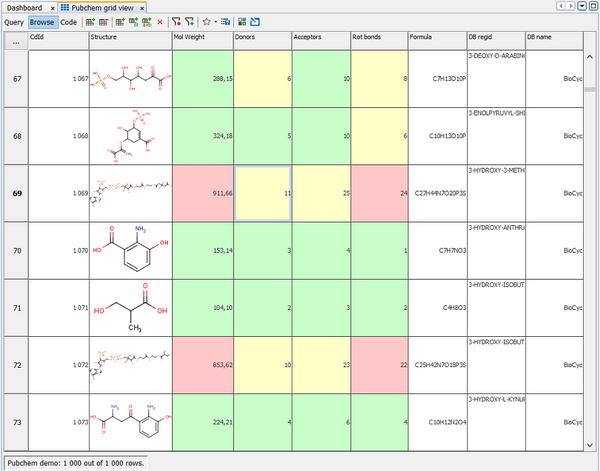
Conditional formatting allows data to be coloured based on some conditions so that different values can be readily distinguished. The most common example is "traffic lighting" where the background colour of cells in a table are coloured green for good values, yellow for intermediate values and red for bad values. For instance, molecular weight values less than 400 could be green, those between 400 and 500 yellow and those greater than 500 red. As shown in the example below this provides a very easy way to visually analyse a set of compounds and identify good ones.

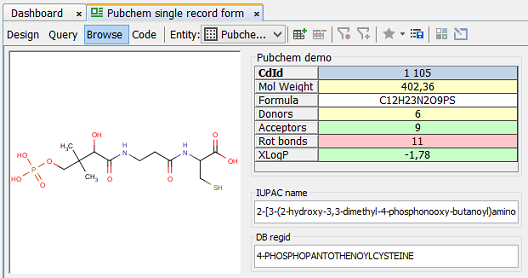
Conditional formatting can also be used in the form view:

You use conditional formatting in IJC by setting the conditional formatting criteria for cells in the grid view or widgets in the form view. Each cell or widget can be formatted with its own criteria. These criteria fall into two categories:
1. Type of formatting
This defines the categories, or bins, into which values can be classified. In the "traffic lighting" example you would use a type that has three categories, named Red, Yellow and Green. We refer to each of these categories as 'bins' into which values can be put according to criteria. You can create your own types, but usually you select one of the existing templates, and there is already one defined for traffic lights (in fact this template has a 4th category named Default as well as the Red, Yellow and Green ones). You can also create your own templates for later use.
The type of formatting includes:
-
A name for the type of formatting e.g. 'Traffic lights'.
-
The set of bins that has been created for that type of formatting.
-
A set of formatting criteria for each bin. Typically the background colour is used, but text colour and the font can also be set.
The purpose of the type of formatting is that multiple fields can have their values classified using the same type of formatting, so that, for instance various fields can all be conditionally formatted according to the same type, so that they are all coloured similarly. For this reason each type of formatting is associated with the particular form view or grid view and can be used for conditionally formatting as many fields as you want. When you choose which type of formatting to use for a particular column or widget you can choose one that is already present or can create a new one from one of the templates that are present.
Each field whose values are used in conditional formatting will of course need it's own rules for how to do the classification into the bins present in the particular type of formatting. For this we need a:
2. Set of expressions
These are a series of rules that classify the values for a field into the bins present in the chosen type of formatting. Each field will have its own set of expressions as clearly the values for each field will be different (e.g. the criteria for a good molecular weight value will be quite different from those for a good logP.
An individual expression within a set of expressions is evaluated for the particular value of interest, and if the expression evaluates to true then the value is assigned to the bin associated with the expression. Otherwise the next expression is evaluated and so on. If no expressions evaluate to true then a default bin can be specified. By this means each value will be assigned to a particular bin and will be formatted according to the formatting rules associated with that bin.
Steps for defining conditional formatting
Defining conditional formatting involves these steps:
-
Set up the form or grid view containing the columns or widgets you need.
-
Edit the conditional formatting for the column or widget.
-
Select the type of formatting you need from the list of templates available.
-
Specify the field whose values you want to use for the formatting. Usually this is the field that is being formatted, but you can choose a different field.
-
Specify the expressions for your field.
-
Repeat the process for the other columns or widget that you want to conditionally format.
A full example is described in the Step by step guide .