Browsing in Your Data Set
You have two basic options to display your data: you can choose between the "Table" (or grid view) and the "Form" display option. You can reach both the available tables and forms by using the buttons on the upper right side of the application:
|
Tables |
|
The table (grid) view provides a tabular (spreadsheet-like) representation of data. |
|
Forms |
|
The form view allows you to define more complex layouts and to display relational data. |


The same database views are available from the dashboard as well, where you can select from three lists: one containing all forms and grids, one for listing the most recent database views and one for your favourite grids and forms.
You can add database views to your list of favourites using the Add view to favourites menu item in the right-click context menu of a form or grid view.
Opening tables and forms
Click on the Table or the Forms option to see the available tables and forms of your current project in a drop-down menu. If you have a large number of tables and/or forms, you can you use the text box at the top of each panel to narrow the lists down. Selecting a table or a form from these lists will open this new database view in your workspace. When you select an item from the lists, its name will appear in italics in the list to indicate that it is already open in your workspace. You can have several tabels and forms open in your workspace at the same time, and the automatic layout logic will render them to their default position. You can open the same form or table multiple times as well, so that In this case, the open forms will be numbered in the workspace.

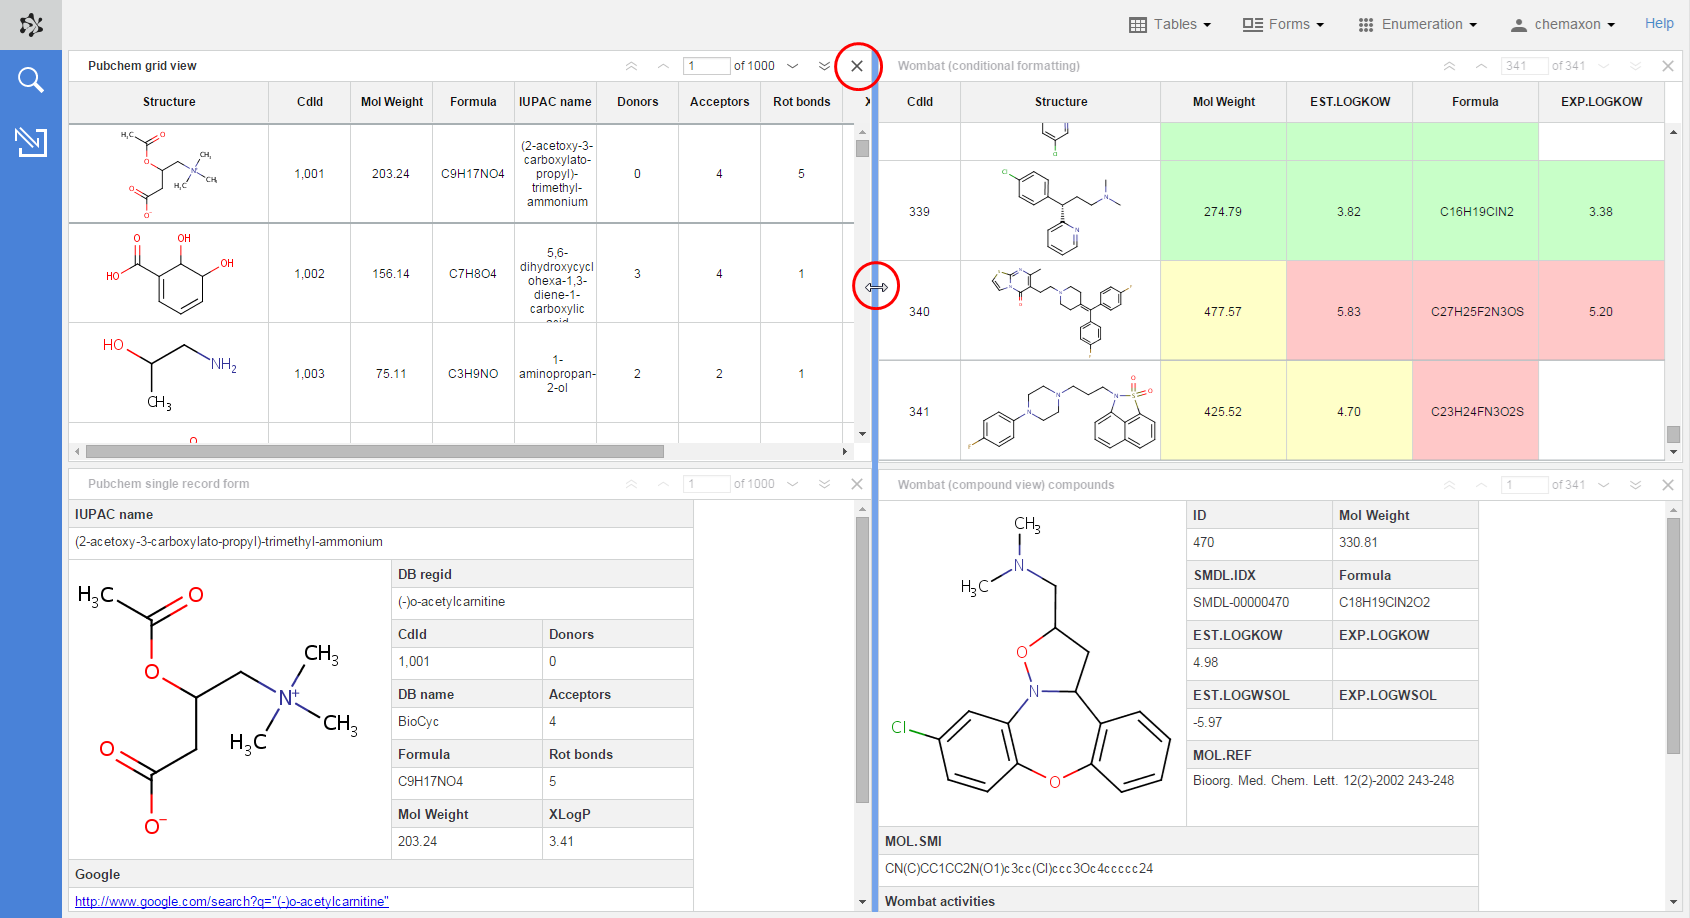
You can close a database view which has been open in your workspace as well by clicking the X sign in its upper right corner.
If you want to re-size the database views in your workspace, grab the blue stripe between them and move it to get the desired arrangement for your workspace.
Renaming database views
You can rename a database views (table, form or chart views), but only if it belongs to your own user account. Shared views can be modified only by the user who owns them. To change the name of a view, you have to:
-
Open the form, table or chart.
-
Hover over its name in the title bar: a grey border appears around the view name.
-
Click inside the border and start typing the new name.
-
When you are finished, hit Enter or click outside the text editor.
Switching the position of tables and forms
If you hover over the header of an open table or a form, the cursor will change to the "move" type cursor ( ![]() ) as a sign that the object can be moved in your workspace. When you start dragging the header, you can see that the header of each open database view will be highlighted in green to indicate where you can release the header you are moving. As you reach a position over a form or table header which allows the switch, its green highlight becomes darker. Releasing the header over this dark green highlight will transpose the two database views.
) as a sign that the object can be moved in your workspace. When you start dragging the header, you can see that the header of each open database view will be highlighted in green to indicate where you can release the header you are moving. As you reach a position over a form or table header which allows the switch, its green highlight becomes darker. Releasing the header over this dark green highlight will transpose the two database views.
Using the table view
Table or grid views provide a tabular arrangement of your data. In a table view (or in a table widget of a form) you can:
-
Resize the rows and columns of the grid,
-
Reorder the columns of a table. Please note that reordering works only for your own table views (you cannot rearrange a table which is only shared with your user account) and only in that case when the COLUMN_REORDER business flag is turned ON.
-
Copy chemical structures and alphanumeric data from the active table cell.
Using the form view
Plexus Suite is capable of handling complex forms for displaying your chemical data or even relation data from different tables which have a master-detail relationship. The available forms can be reached from the drop-down list under the "Forms" menu. Finding a specific form in this list can be made easier if you start typing the name of the form you are looking for in the text field. As a result, the form list will be filtered to those items only which contain the term you typed.
Please be aware that form views can be used only when the IJC_FORMS business flag is switched ON.
At present, complex forms can be designed in the Instant JChem desktop application and then opened in Plexus Suite for data browsing, searching, etc. Plexus Suite supports several widget types available in Instant JChem:
The information displayed on the different widgets of a single form is synchronized, which means that if you select a row in a spreadsheet of a form, the corresponding text and structure fields will be updated on the same form as well giving you further details about the chosen record.
Viewing relational data
When the complex form is based on multiple entities bound by relationships, it can display both parent and child data. Please keep in mind that there is slight difference in displaying data from 1:1 (and N:1) and 1:N child tables using table widget in a form view (please see the screenshot below).
-
1:1 (and N:1) child data
When a table widget is used to display 1:1 child data, all records present in the database are displayed at once, while the relevant record is focused on. The behavior is basically the same as if a single table was used. Better option to using table widget for displaying 1:1 child data might be the use of sheet widget.
-
1:N child tables
When a table widget is used to display 1:N child data, only the records relevant to selected parent data are displayed in the table.
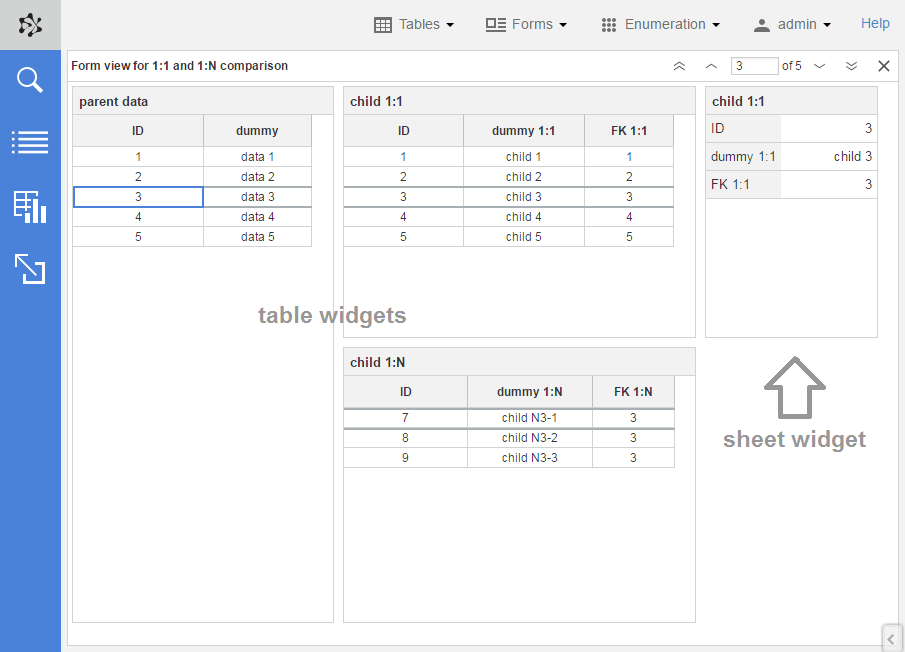
The selection can be changed on the form widget either by selecting certain rows (see the left side of the image above) or by using the record chooser (right side of the image above).
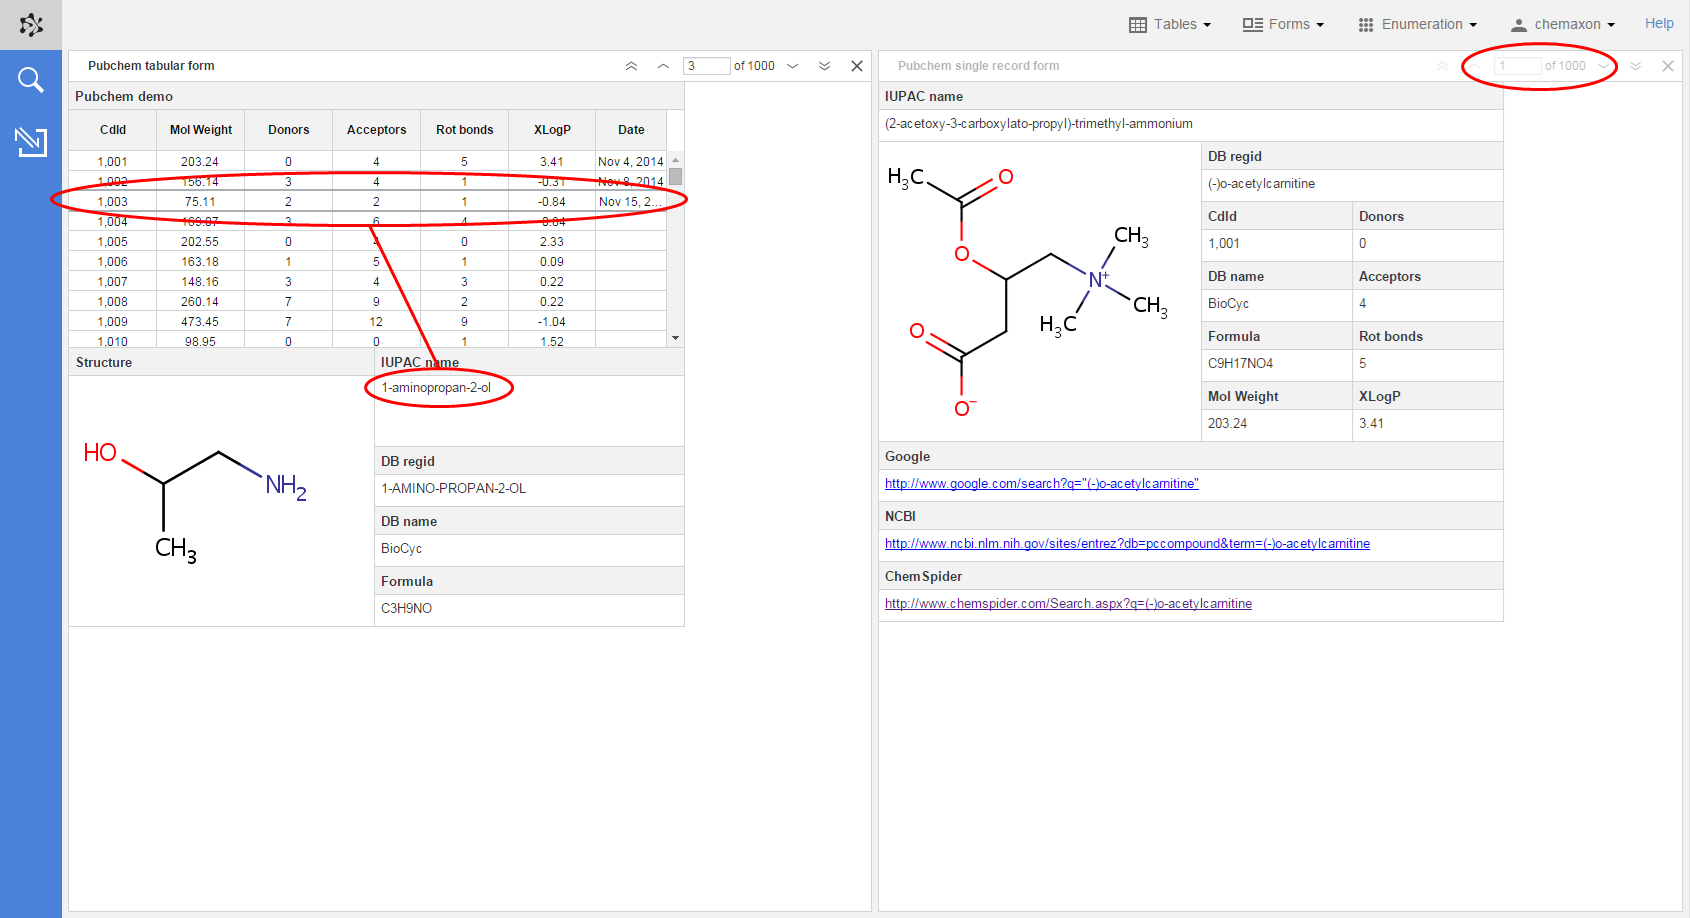
The record chooser allows easy navigation among the records of a form. It is especially useful for forms which do not have a spreadsheet widget. It contains four buttons to move between the records: first, last, previous, and next; as well as a counter box, where you can enter the chosen record number directly.

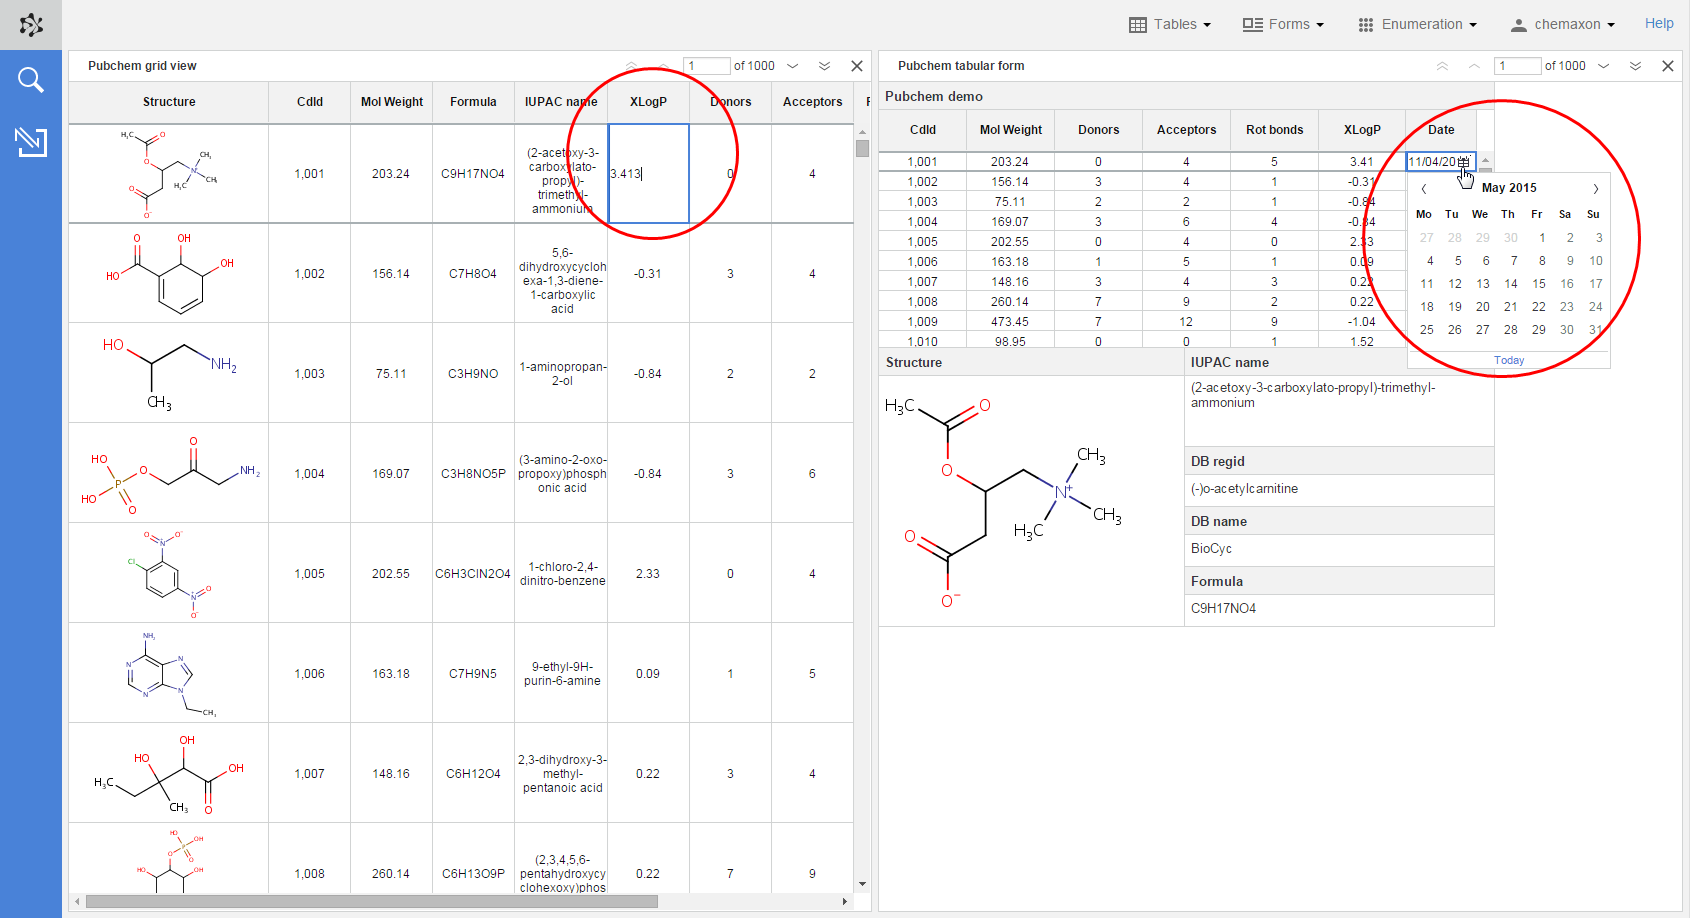
Editing data in your table
Double-click on the selected table cell to edit the data in it. Edit either numeric or text values with a simple text editor (left side of the image) or date fields with a calendar widget (right side of the image).
Please note that, by default, the business flag for data editing is turned off. In order to modify values in tables, you or your system administrator has to first switch on the CELL_EDITING business flag and then you have to log in into the application again.