IJC tutorial: Defining a security policy
Overview
This tutorial will explain how to rapidly apply a security policy to the schemas in your projects. A security policy is applicable to each schema in your project and since each project can have many schemas then it is the case that a new policy is needed for each. The application of a security policy task is normally completed prior to schema deployment, once all the datatrees, entities, form views and any other objects in your schema and project are considered ready for real users to start using. Depending upon the level of privilege applied to a given user, that user can also create their own objects and decide to share access with other users. A default user "admin" is created with the policy so it is always possible for this user to login and amend other users capabilities. It is important to note that admin has the ability to create other admin users (and so on...) as well as remove the policy if required. For this tutorial, we will use the Derby database and the built in demo data that is bundled. The approaches are essentially similar using the Instant JChem interface hence we can practice with Derby. However there is one small caveat to consider. Even though many users can be created in a Derby schema, a limitation is that only one session is ever allowed, hence only one user can be connected at any one time. This in itself will not affect the explanation of IJC user and roles and will not be a consideration in the case of MySQL or Oracle where this limitation does not apply.
You might see "ERROR XSDB6: Another instance of Derby may have already booted the database"
It is also worth noting in the case of Oracle and MySQL that database connection details are required if connecting to a schema for the first time irrespective of the IJC policy. The database level user and password are often saved and do not need to be defined again. If shared projects are deployed from a web server then the database connection is pre-configured and then only the IJC level user is needed. At the project level different files can exist on different machines for the same schema connection, making the projects different. Shared schemas can effectively be achieved with a policy in place, roles and shared form views.
You can start with the built in example demo project to try these concepts and functionality out.
Create the demo Project and share some forms.
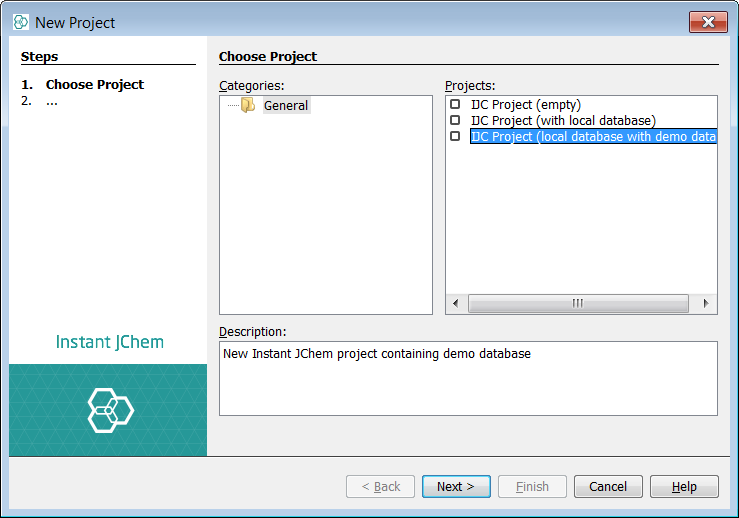
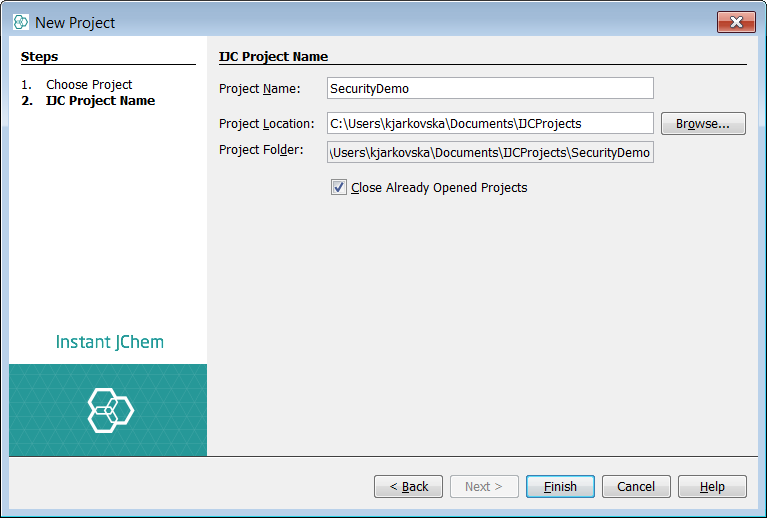
First create a new project container. Use File -> New Project... menu entry or appropriate icon in the toolbar (shortcut - Ctrl+Shift+N). Create a new project and choose IJC Project (local database with demo data). You will notice that even though no explicit policy is applied, you are connected as the implicit user admin.
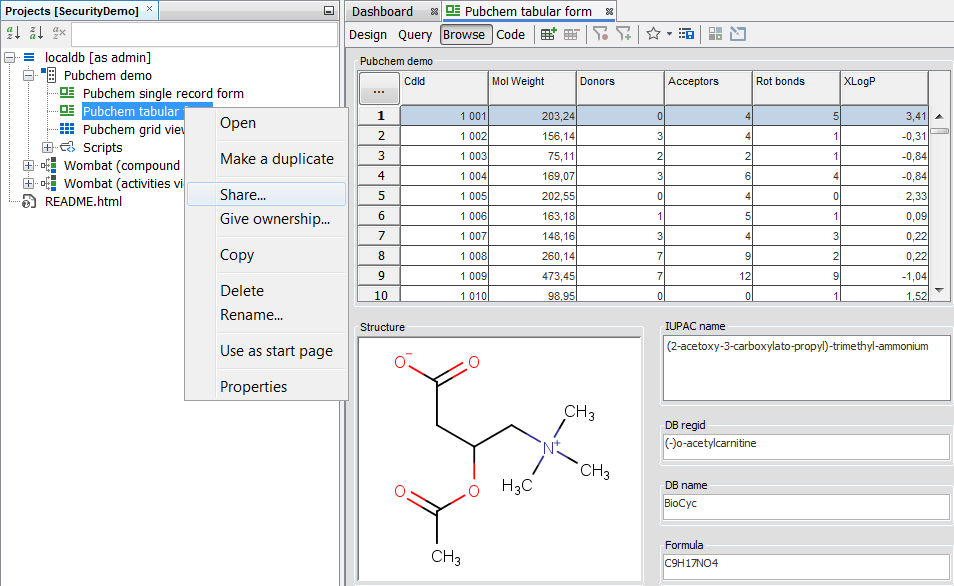
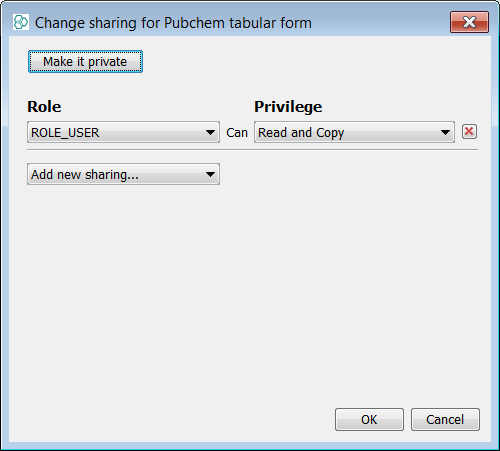
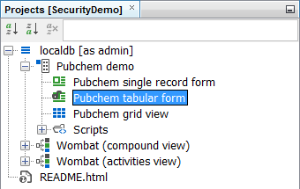
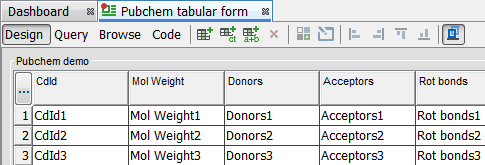
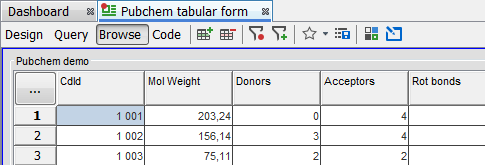
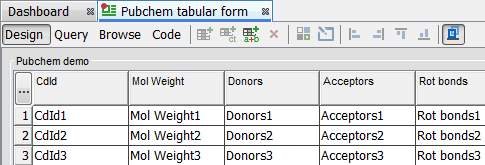
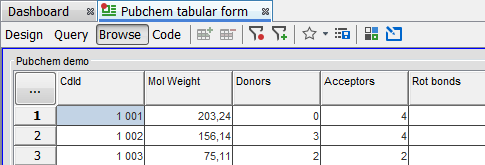
In order to interact with the data we must be able to access one of the form views and so far all of the form views are owned by admin. In order for other users to see them we must make them shared or visible. Expand the "PubChem Demo" data tree and open the "PubChem tabular form". Right click on the form and select the Share... option. Change the privilege for the ROLE_USER to Read and Copy from the dropdown menu and press OK. You can see the form icon has become "unlocked".
Apply a security policy and connect as "admin" user.
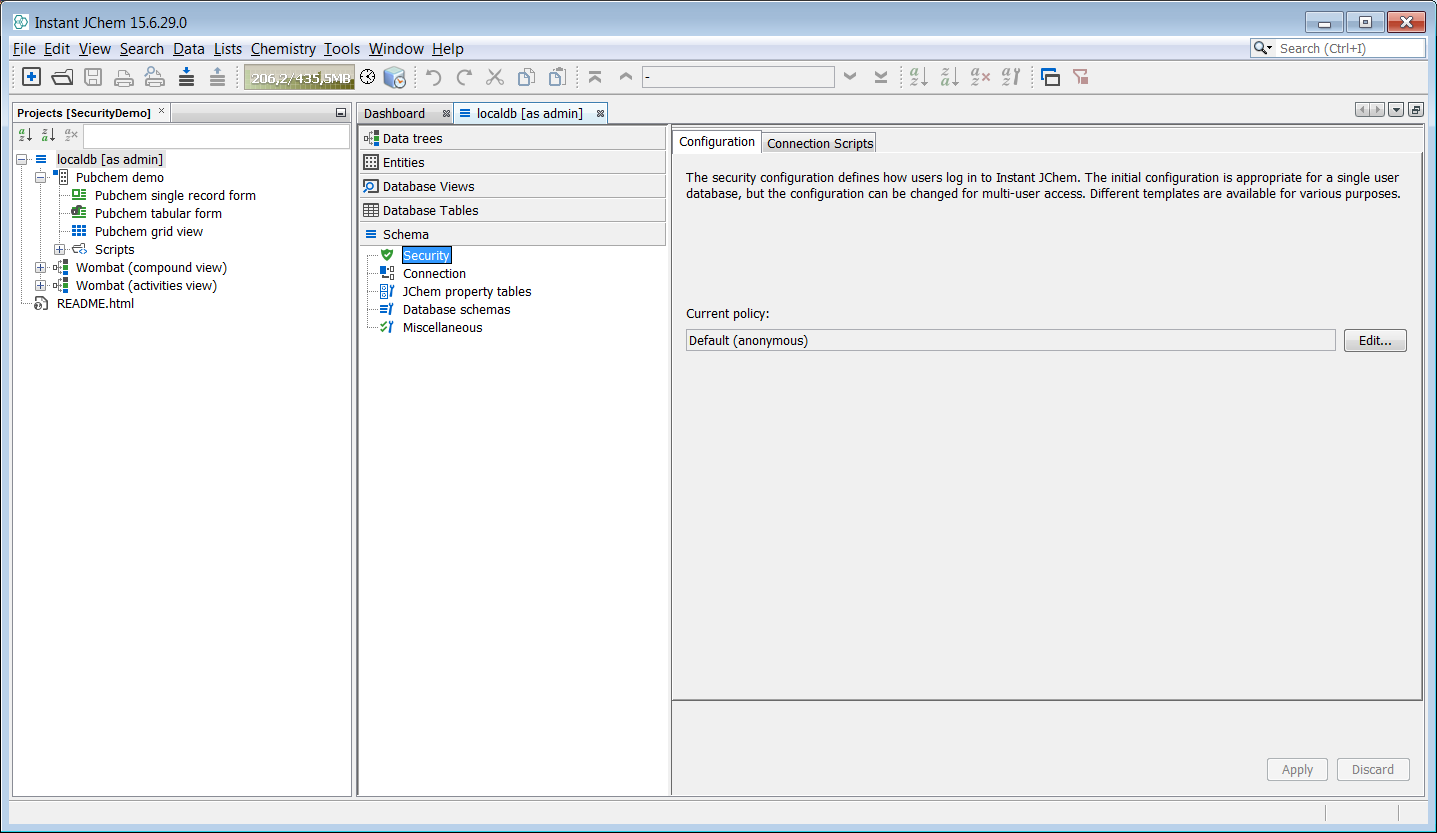
You will now have open the vanilla demo project and schema which contains several standard datatrees and associated forms. Next, we should like to apply a security policy to this schema in order to control user access and this can be completed in the schema editor "schema" tab. Right click on the schema node (localdb) and select Edit Schema. Head to the Schema tab and select the Security node. You will see the current policy is set to "Default (anonymous)" and the Edit... button enabled.
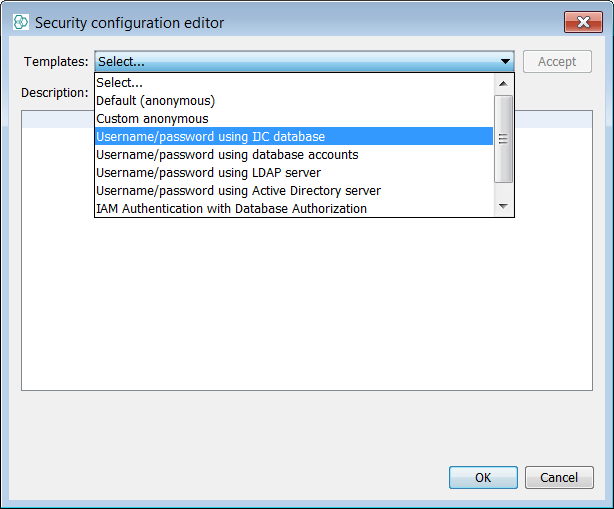
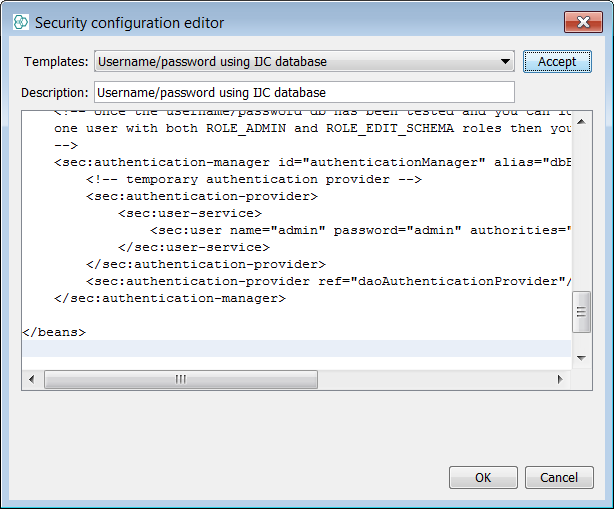
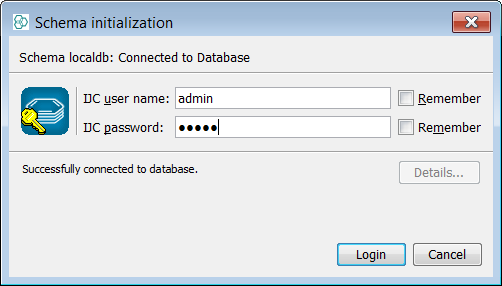
Now we will apply a policy. Select the Edit... button and then the drop down box with policy types. Different policy types are discussed and suffice to say some are more complex and require external configuration of O/S users. Select the policy type "Username/Password using IJC database" then press the Accept button and you will see some internal XML configuration displayed. Select OK and then take the advice of the second pop up and disconnect then re-connect to the schema as the admin user, to see the policy enforced (Right click schema node and choose Disconnect followed by double click on schema node). You will now see that you must provide login credentials during the schema init phase and initially you can use admin/admin.

Create some users and assign them roles.
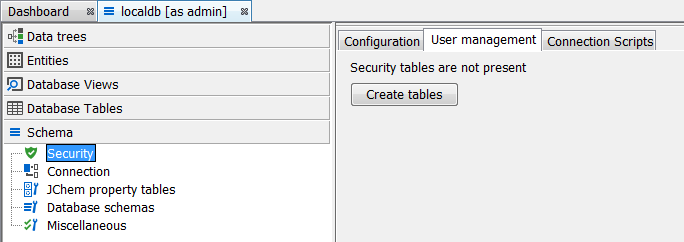
Once logged in as admin, we can return to the Security node in the Schema tab of Schema editor we can see a new tab called User Management and an associated button Create tables. Next press this button to generate the user tables.

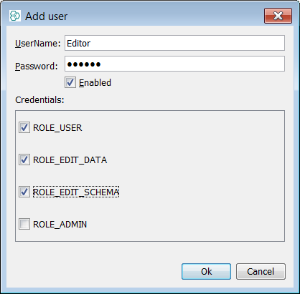
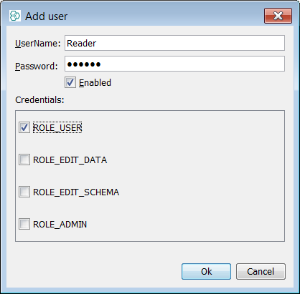
It is now possible to create different users with different levels of access rights. First we should set up three different users - you can name them in a more meaningful way but we will call them "Editor", "Writer" and "Reader". In each case select the Add User... button and provide the username, password and assign the roles using the tick boxes. Below are three screen shots, one for each of the users specified above. Subsequently, it is possible to edit these users privileges and passwords.
Usernames and passwords are case sensitive, so "editor", "writer" and "reader" will not exist for this example.
In the case of "Editor" we have assigned all roles except admin. Effectively we have set up a user that can do everything in the schema (manage entity) except administer security and new users.
In the case of "Writer" we have assigned the roles "ROLE_EDIT_DATA" and "ROLE_USER". This user can read and write data but cannot make changes to the schema in any way.

In the case of "Reader" we have assigned only the role "ROLE_USER". This user is read only, any attempt to edit data is blocked.
Understanding the pre-defined roles and data access.
Finally, we can complete some simple tests for each of the users by connecting as each and try some simple operations but before we complete this we must consider the following. Right click and disconnect as the admin user.
Re-connect as the "Editor" user. This user can amend the schema (add or delete fields, amend forms in DESIGN mode) edit data (non core fields) and of course run queries.
Re-connect as the "Writer" user. This user can edit data(non core fields) such as add/delete or update and of course run queries.

Re-connect as the "Reader" user. This user can run queries only.

Please see the extended roles link on creation of bespoke roles.
Changing users/passwords and controlling security.
For existing users, you might wish to change the privilege levels for a particular user, block a user entirely or modify a forgotten password.
Select the "Editor" user and select the Disable User button. The user is greyed out and it is not possible to login with it. The Enable User button now appears which can be used to re-enable the user.
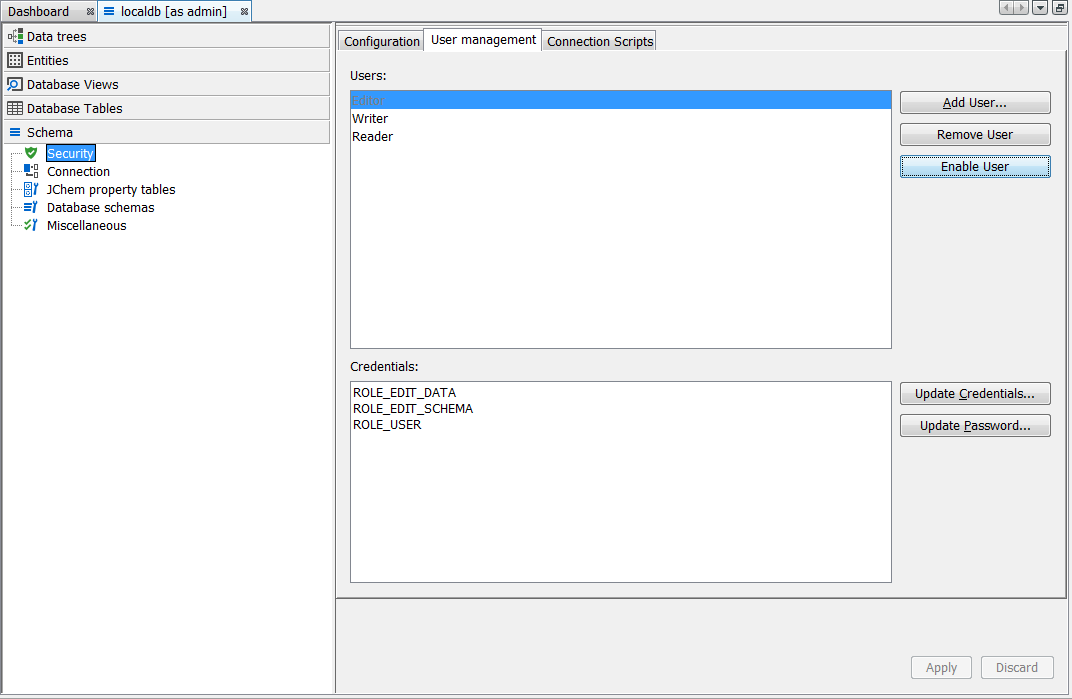
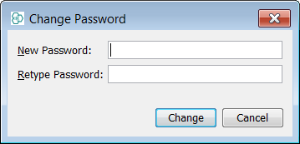
Select the "Writer" user and select the Update Password... button. Enter the new details.
Select the "Reader" user and select the Update Credentials... button. Assign this user a new role, log out and log in again and confirm it is inflated. Remove this user all together by select the Remove User button.
The astute policy administrator will also consider the following advice carefully. The "admin" user comes with a default password of "admin". It is possible that this generic default information may be known by another user. The strong advice is that once a security policy is put into place one of two courses of action should be taken, by the real admin user.
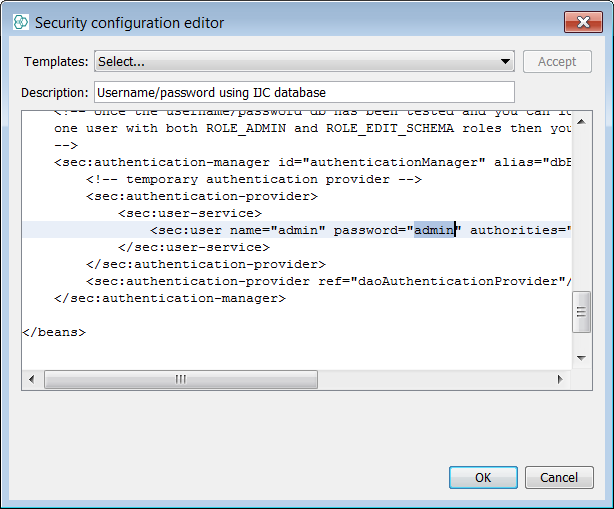
The first option is to change the admin password and this can be completed in the XML by update the string as shown below. Change the admin password to value that is considered secure by your organisation.
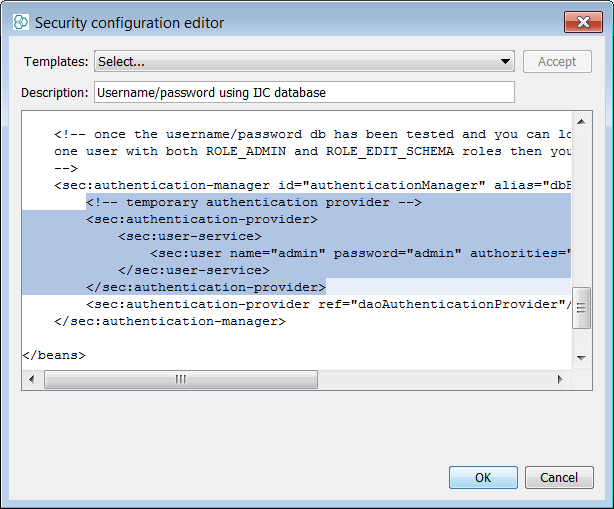
The second option is to remove the admin user entirely. The second option requires more caution since it is highly advised to have already created another user with admin level privileges before doing this else you will find you can no longer administer users at all! In order to remove admin user, remove the line from the policy XML as below.
Congratulations
Congratulations! You have just applied a simple security policy by learning to
-
Create the demo Project and share some forms.
-
Apply a security policy and connect as "admin" user.
-
Create some new users and assign them roles.
-
Understand the pre-defined roles and data access.
-
Understand the how to modify users and the security model.