Creating a Configuration
You can build your configuration by the Configure Actions panel:
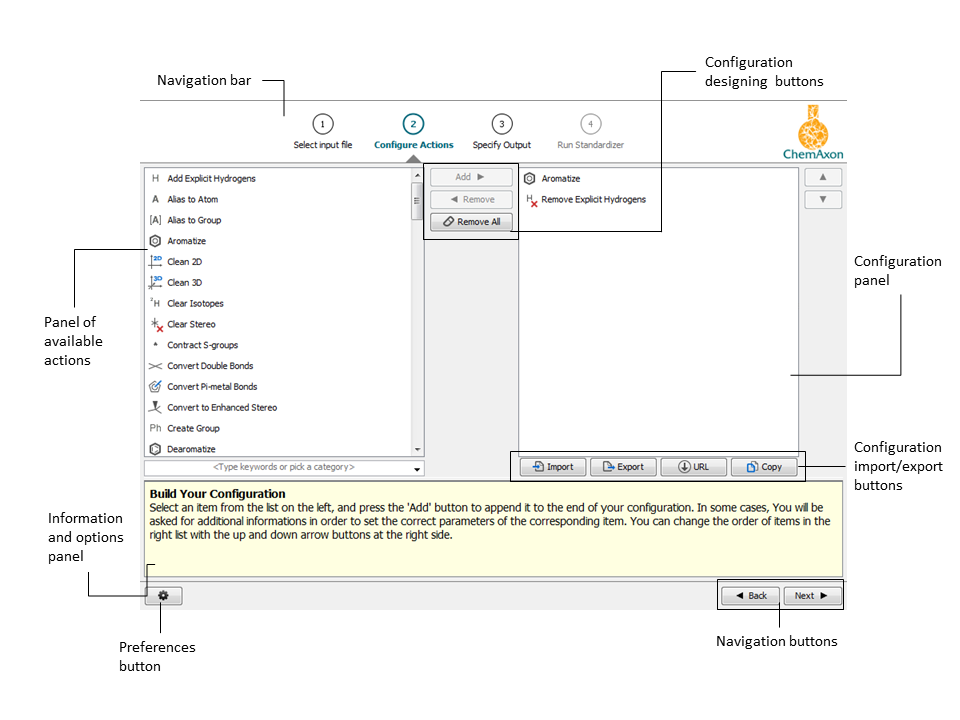
1. Browsing the Standardizer Action list
On the left panel of the Configure Actions window, the available Standardizer actions are listed in alphabetical order.
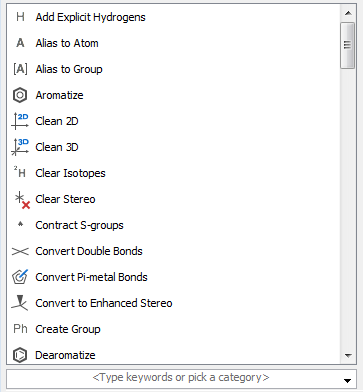
You can use the right-side scroll bar for browsing this list. Alternatively, a search box is also provided where you can type keywords. If you click on the arrow next to the seach box, a drop-down list appears with category flags that can be selected to filter the available actions. For example, selecting Stereo will result in a focus list that displays actions related to stereochemistry such as Clear Stereo.
If you click on an action in the list, additional information appears in the information panel concerning that action.
2. Adding actions to the configuration
The right part of the Configure Actions panel displays the actions included in the Standardizer configuration.
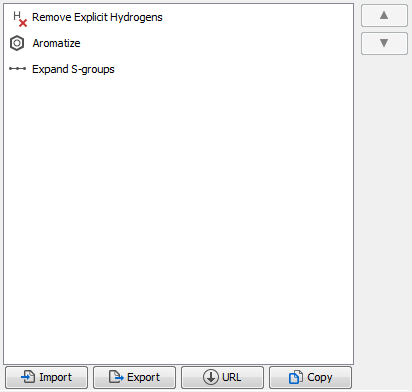
This list is empty by default, but you can easily add an action by clicking on it in the left panel and pressing the Add button located in the middle. Alternatively, you can also double click the desired action in the left panel and it will be automatically moved to the right panel to be included in the Standardizer configuration.
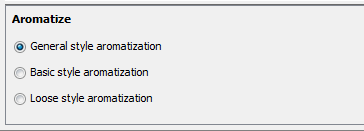
3. Setting action parameters
If you click on an action that was already moved to the right panel, additional options appear in the information panel for that action that can be customized.
4. Removing actions from the configuration
If you would like to delete a particular action from the configuration, select the action and press the Remove button situated between the two panels. You can clear the whole list by clicking on Remove all.
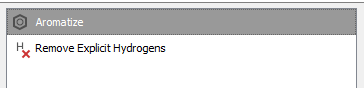
5. Changing the order of actions in the configuration
The list of actions can be re-ordered by the right-side arrows. Simply click on an action and move it up or down in the list with the appropriate arrow.
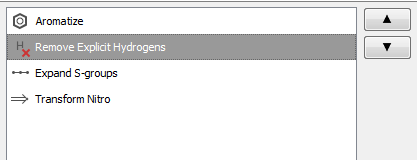
Keep in mind that the order of actions in a Standardizer configuration is important, since the output of the first transformation will become the input of the second one, and so on.
6. Importing a configuration
An xml configuration file can be loaded by using the Import button. Browse the location of the file and click Open.
You can also provide your xml configuration file via a web address if you press URL. Enter the URL in the window and click OK.

This option enables to use the same Standardizer configuration for several users. However, configuration data cannot be edited and further customized.
7. Exporting a configuration
Once you are ready with your configuration, you can save your configuration in xml format by pressing the Export button. Browse the location, name the file and press Save.
You can also copy the actionstring representation of the created configuration to your clipboard by clicking on the Copy button.You can use this text with e.g. the Standardizer command-line tool or Cartridge.
Once you have set up your configuration, you are ready to start your standardization process.