List Management
Plexus Connect is able to handle lists for you to organize the molecules you are interested in for various reasons into well-defined groups. For instance, you have the possibility to save the hit list of a query for later usage as permanent lists. As opposed to saved queries, where the result set can change with time due to database changes (as a result of adding, removing or modifying some records), creating a list from your search hits by saving, e.g., their compound identifiers, will guarantee that the saved list will always contain the same items (unless an item is completely removed from the database). Alternatively, you can create lists manually as well, by adding and removing records to and from a list one-by one.
Saving search hits as a list
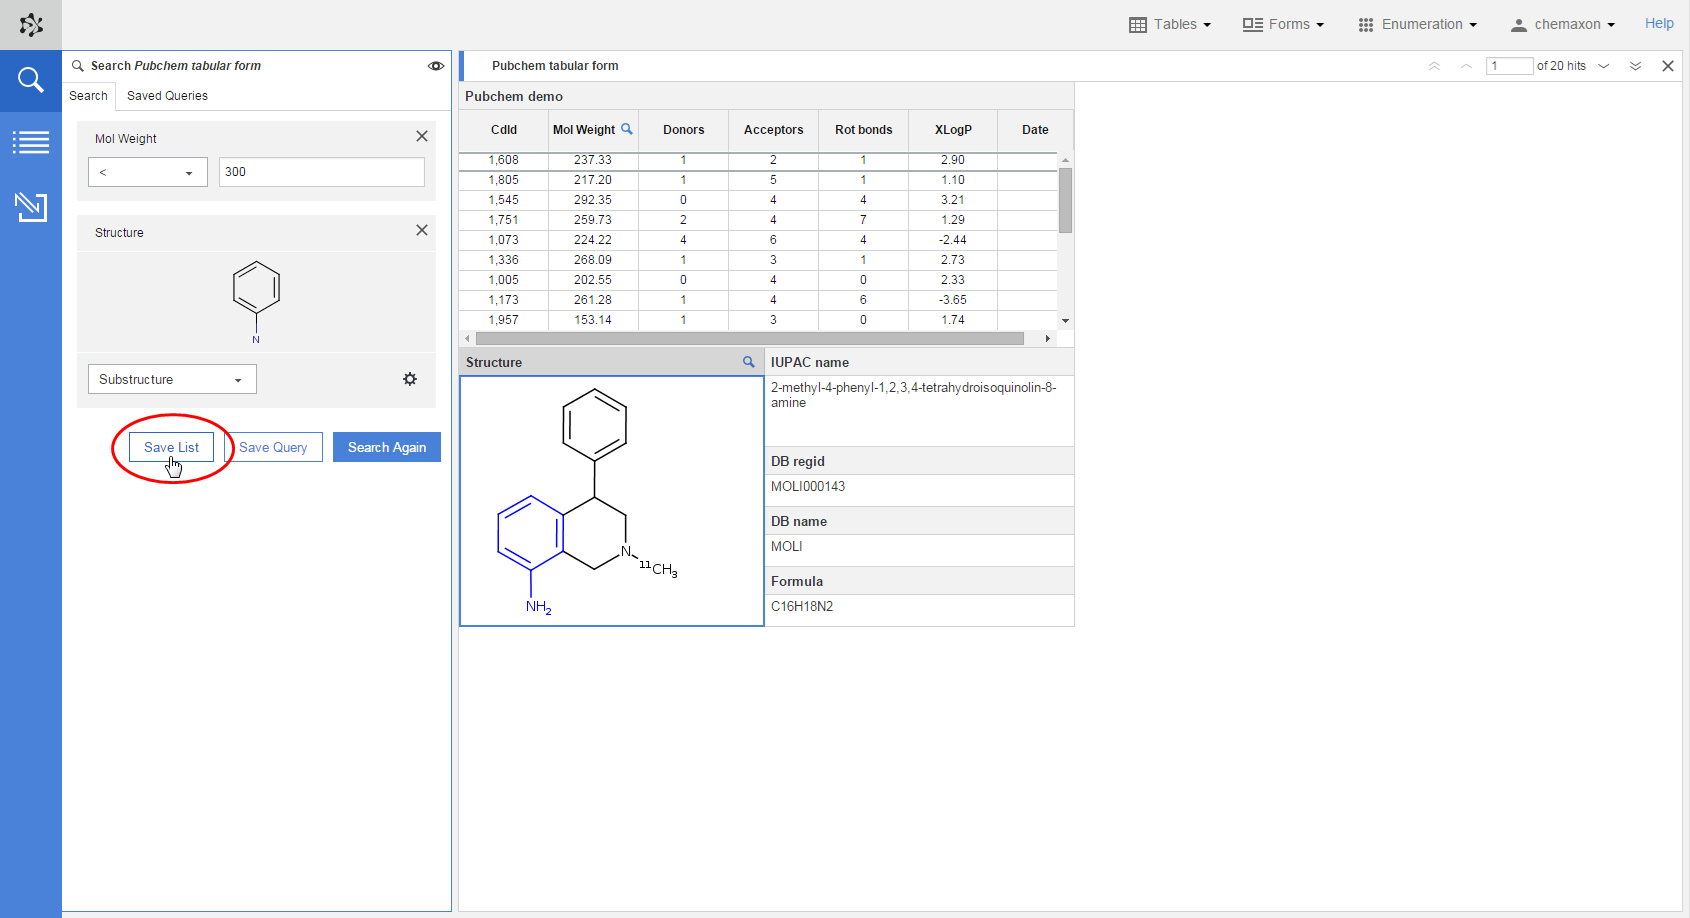
When you have run a search, the Save List button appears on the search panel. Pressing this button will create a new item on the Lists panel, which is also available from the action bar on the left side of the application. The new list will contain the IDs of those compounds (records) which were among the search results. The default name of a saved list contains the time and date of its creation.
Once you have created a saved list, it will be available only from your own user account. If you want to give access to some of your saved lists to other users as well, you can share these lists with them from the Instant JChem desktop application.
Creating lists manually
Lists can be created manually as well in order to mark interesting compounds or to further filter the result set of a search. When you press the New List button of the Lists panel, checkboxes will be added to the rows of the active grid view, and you can mark these checkboxes to add their records to the new list which has been created. Your changes will be saved automatically after each step. Once you have finished building your new list you can deselect it and remove the checkboxes by clicking on the list while you hold hown the CTRL key.
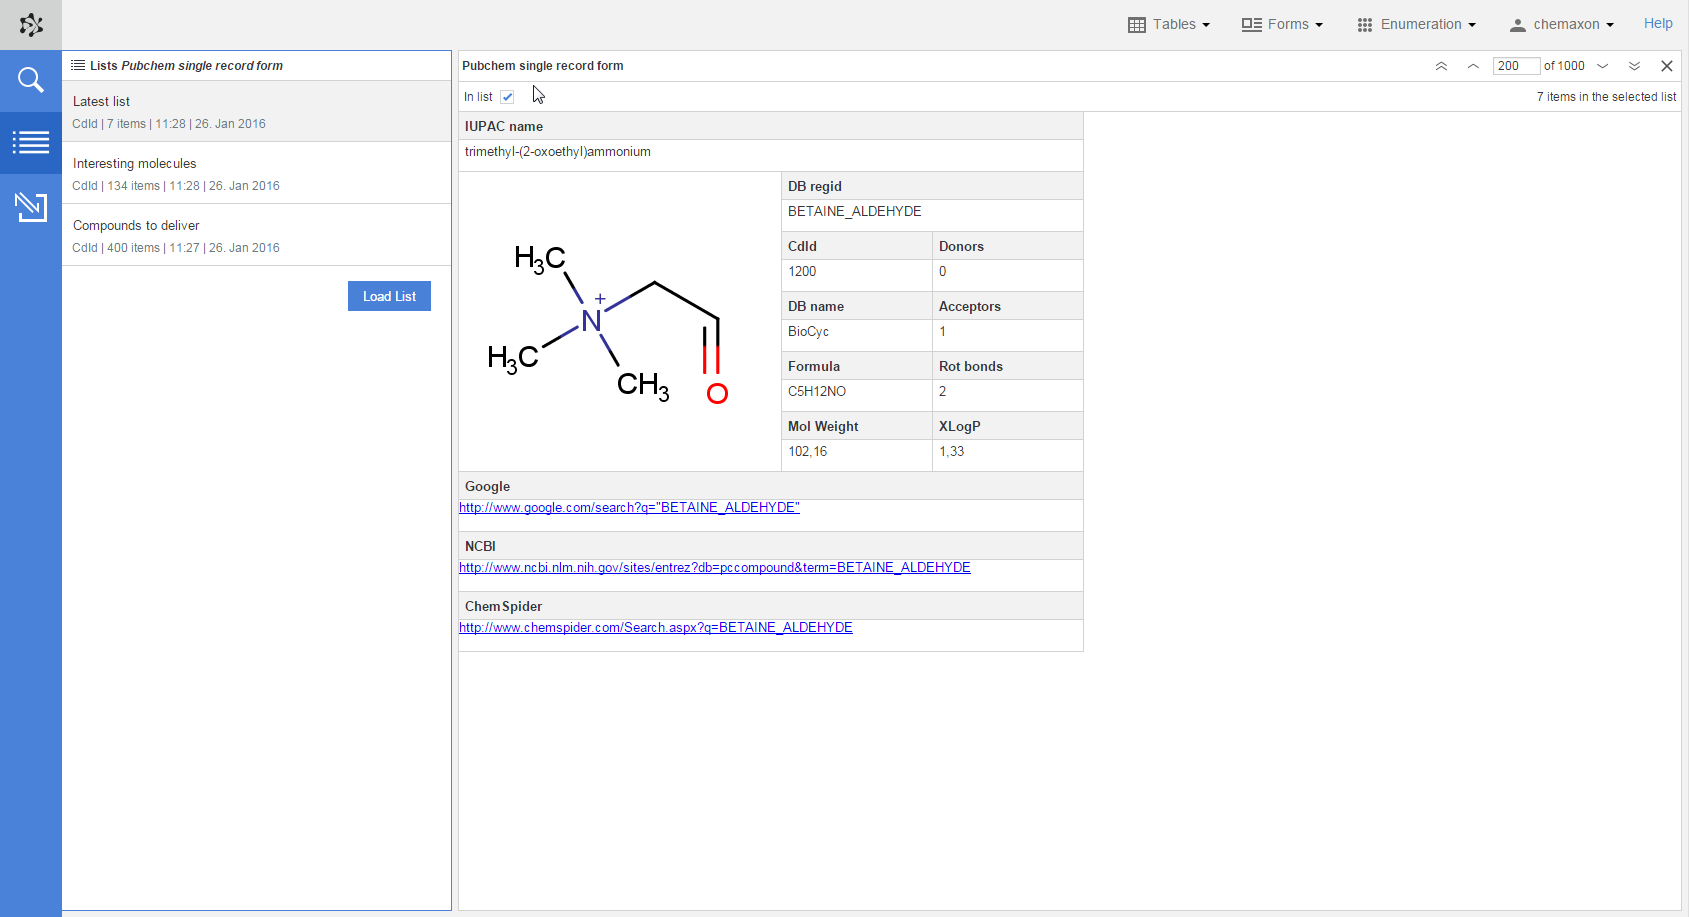
Manual list creation works similarly in form views as well, where the checkbox and the current number of items in the selected list can be found in the header of the active form.
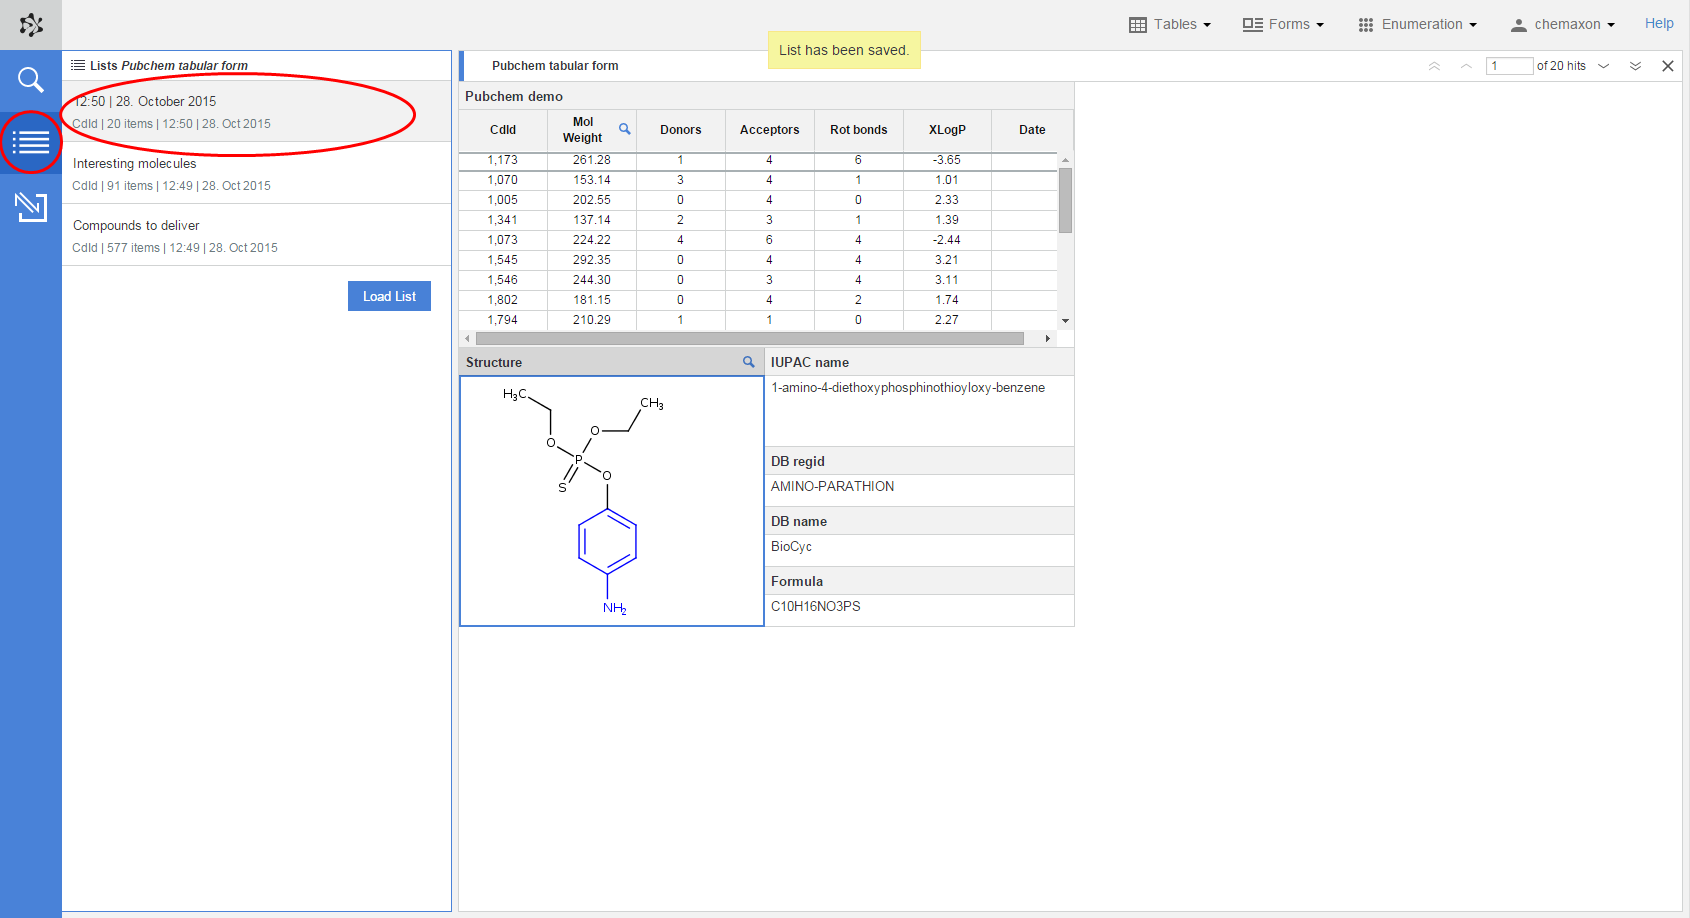
Loading the content of a list
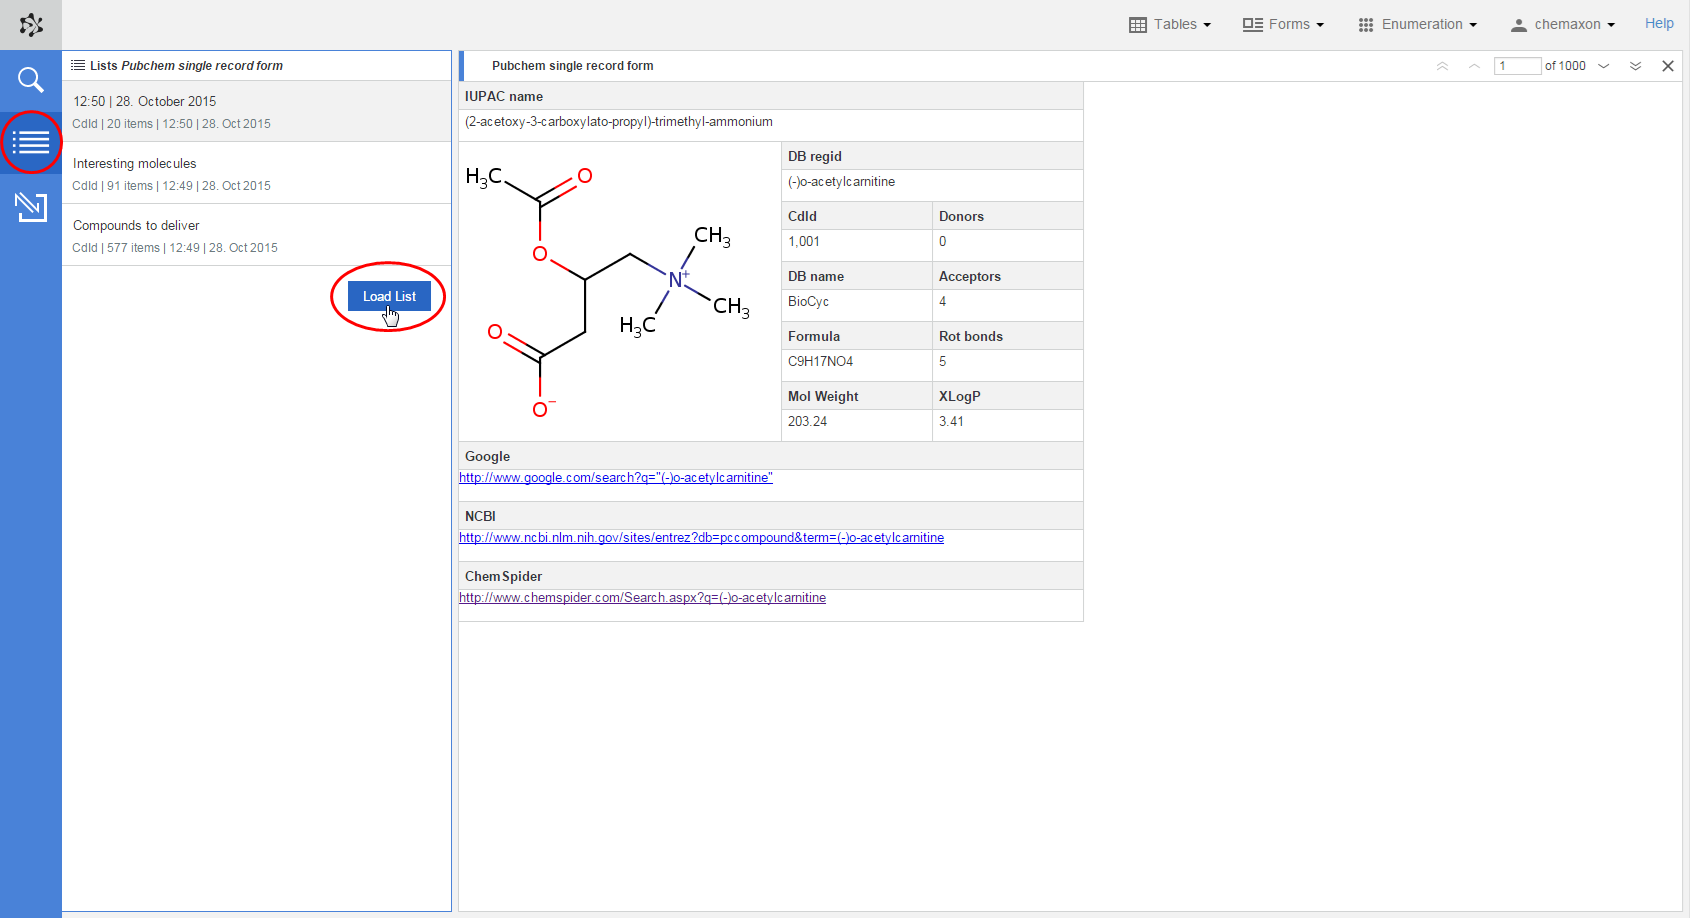
A saved list can be loaded by opening any of the database views which contains the same source data. Navigating to the Lists panel by using the button on the action bar on the left will show you every saved list associated with the active source data. If you select an item from this list, the Load List button becomes visible. Clicking on it will load the saved list of records in the currently active database view. Alternatively, a list can be loaded by double-clicking on it as well.
Editing lists
You can change the records saved in your own lists manually as well. When the Lists panel is open, selecting one of your own lists will add checkboxes to the records of the active database view. Records which already belong to the selected list will have a marked checkbox. You add and remove further items to and from your list by marking and unmarking the records of the active view. Your changes will be saved automatically after each step. When you have finished editng, you can simply deselect the list by clicking on it while holding down the CTRL key
When you only want to remove some items from a list, you can load it first and then you can unmark the checkbox of those records which you do nt want to have in your list anymore.
Please note that you cannot edit those lists which belong to a different owner and have been only shared with you.
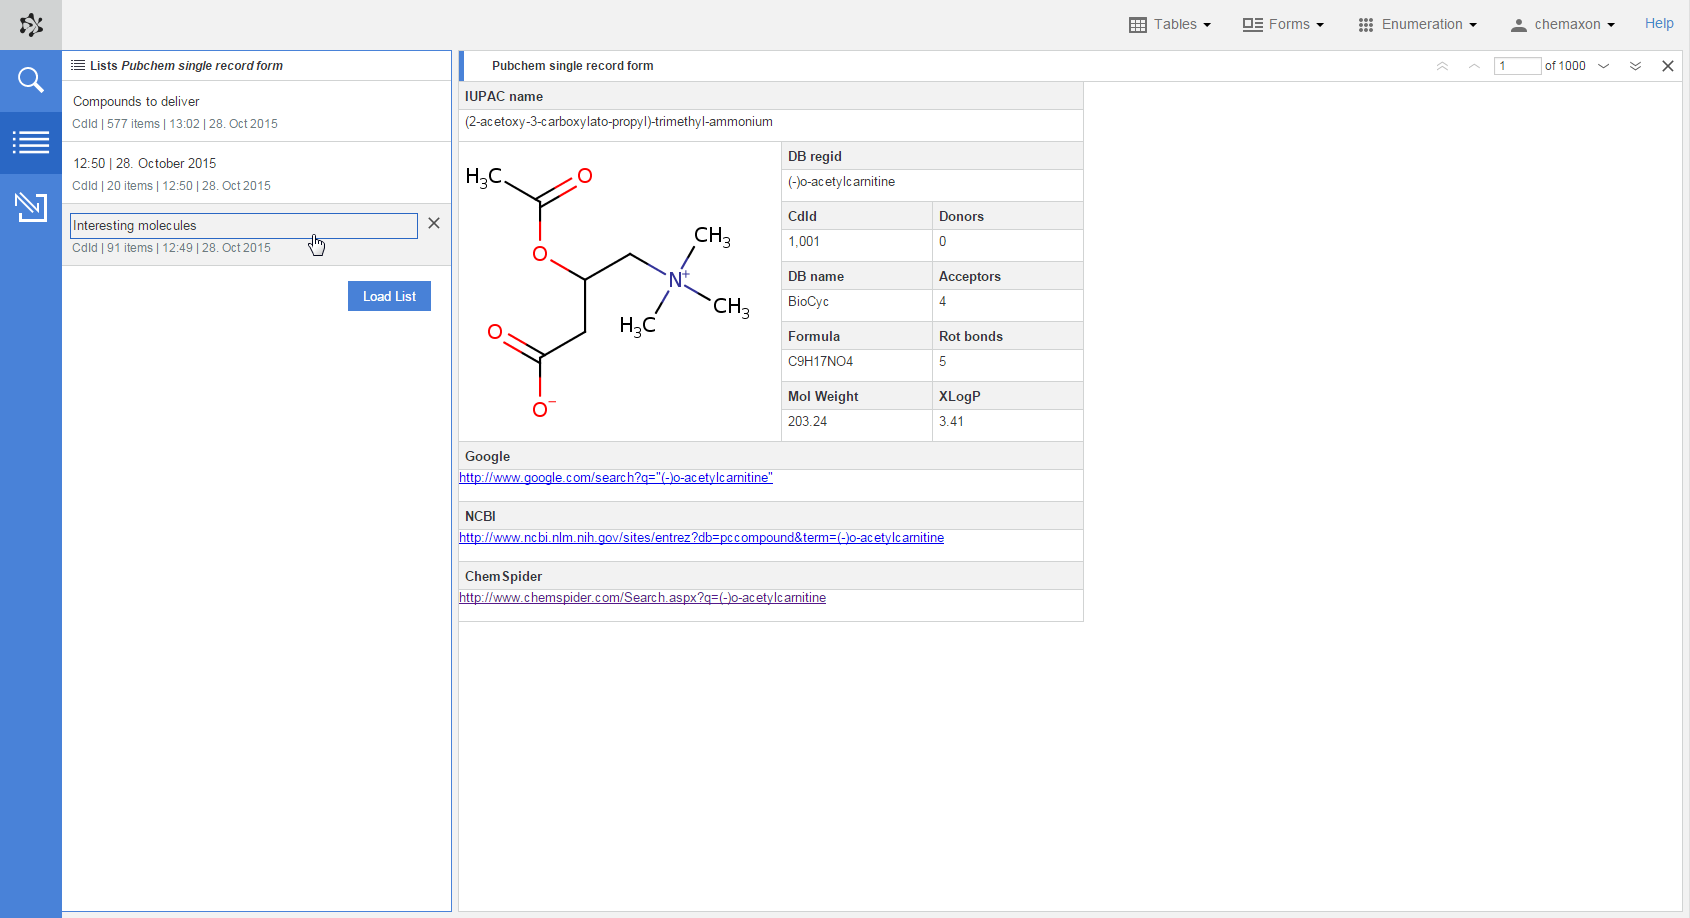
If a saved list belongs to your own user account, you can rename it by selecting it and the clicking on its name. When you finished editing the list name, you can save your changes by pressing Enter. The modifications can be cancelled by hitting Esc or simply clicking out of the text editor.
Deleting lists
A list can be deleted as well. Please note that such an action will permanently remove the list from the database and neither you nor the other users with whom the list has been shared will be able to use it afterwards. Of course, the records which had been saved in that list will still be available.
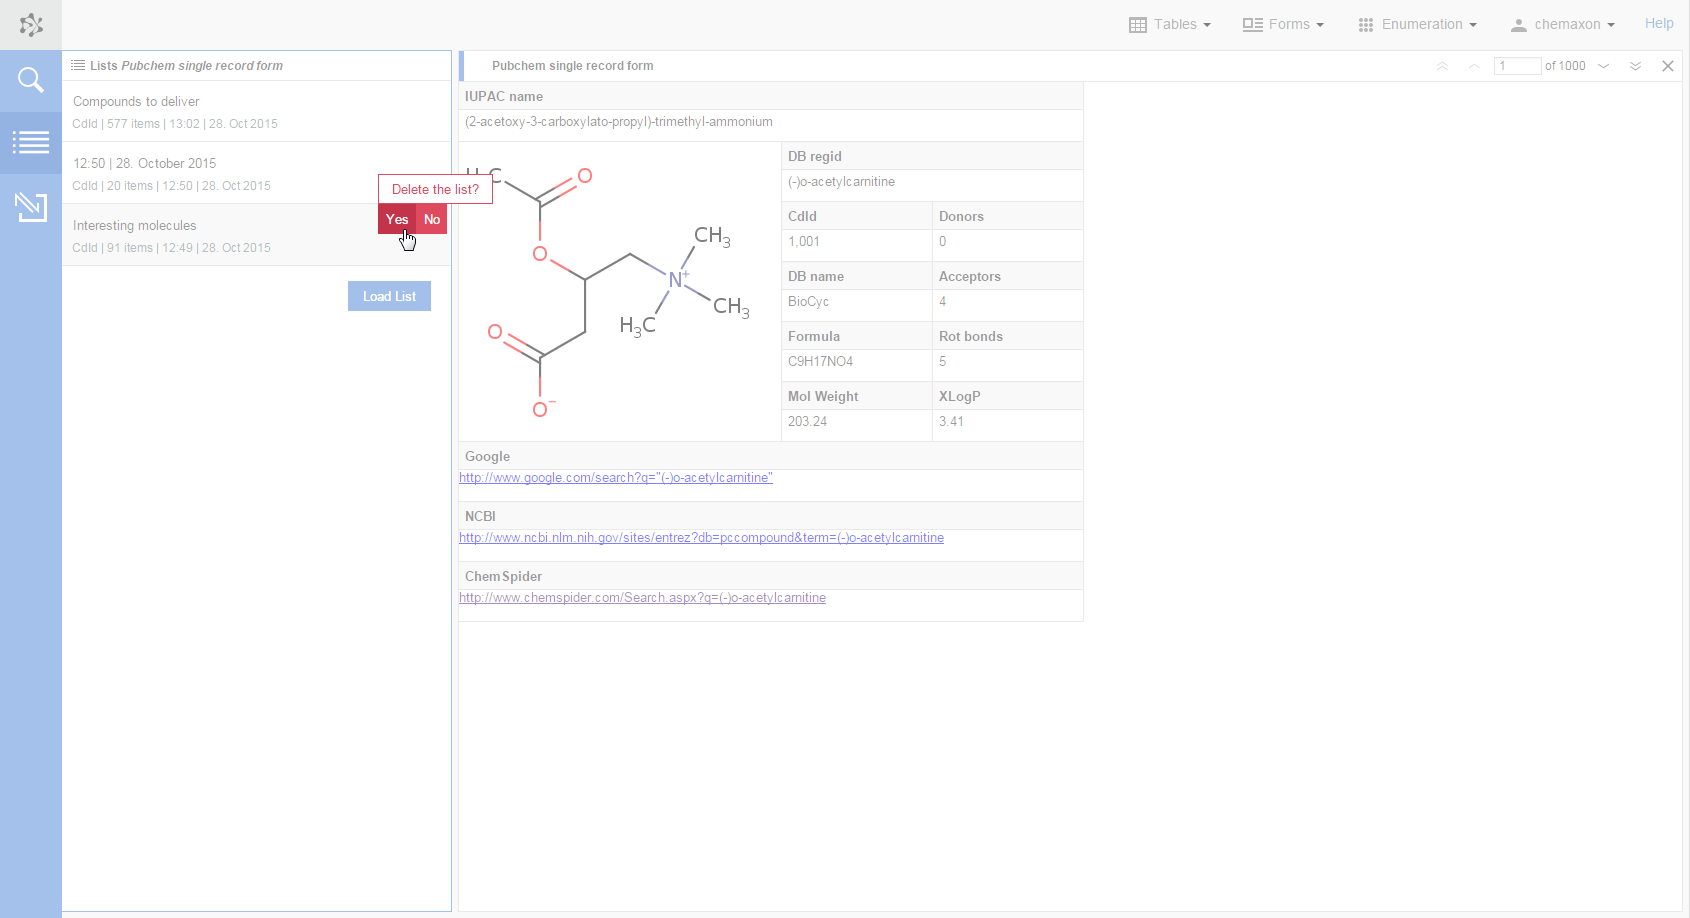
In order to delete a list, hover over it on the Lists panel. As a result, the Delete button will become visible. If you click on it, you will see a red ribbon where you have to confirm that you really want to remove this item. After that, the list item will be deleted from the panel.
Deleting a saved list is possible only for the owner of the given list.
Logical operations on lists
Your lists can be combined to create new list items by using one of the logical operators in Plexus Connect. You can choose from the following operators:
-
Intersection: the common elements of the selected lists;
-
Union: every unique element of the selected lists;
-
XOR (symmetric difference): the symmetric difference of two lists contains those elements which belong to either of the selected lists, but not to their intersection;
-
A and not B: those elements of the first selected list which do not belong to the other selected list;
-
B and not A: those elements of the second selected list which do not belong to the other selected list.
With the exception of the last two of the items above, list operations are applicable in every case when more than one list is selected. Using the last two operations, however, requires exactly two lists to be selected.
In order to select more than one lists, hold down the CTRL key while you click on the lists. When you have at least two selected lists, select the required operator from the combo button. The new list will belong to your user account, and it will not be shared with any other user.
See also
Learn more about searching and browsing in a database within Plexus Suite: